On any animals, the legs, shanks, and shoulders have the worst reputation for being tough, stringy, chewy, full of tendons and basically, only thought of as usable for grind or the soup pot. But when cooked properly, these cuts can be transformed into a flavorful showstopper! My favorite way is to use a low and slow method of OVEN BRAISING these cuts. The work is minimal, and patience is needed to create that kind of rustic, low country food prized by those admirers. Cooking at a low temperature for a longer period of time is to allow the tendons to break down slowly to release from the muscle fibers, and for the yummy bone marrow to melt into the sauce. If cooked at too high a temp, the result will be stringy, yet dry meat without the signature velvety mouthfeel. Another great thing about braising, is the dish can be improved by simply refrigerating it for couple days after braising. The flavor develops over time. It’s also a great time saver for a dinner party. If the shanks are braised a couple days ahead, they only need placed back into the oven over low heat to warm, while you are greeting guests. Once you’re ready to serve, it’s simply a matter of platting it with a few pre-made side dishes. And bonus!!! The clean-up is minimal. Depending on how large the animal was, one whole shank is more than enough to feed even the most hungry guest. What is also awesome about this cooking technique, is it can be used for ANY animal, wild or domestic. And customized by simply substituting the flavor of wine, stock and spices and herbs. It allows the cook to experiment with many flavors to bring out what he/she likes. Want to go Italian? Use Barolo wine and a few anchovies. American or German? Use a great lager. Eastern Indian? How about a pinch of curry and turmeric in place of juniper! Want to braise Rabbit or Pheasant legs/shoulders instead of red meat? Sure! Just use a great Chardonnay wine, and chicken stock… add a bit of mustard and tarragon for a French inspired “Lapin Au Moutarde”!! And don’t just breast-out those Ducks and throw away the rest! Save them for a whole batch of red wine braised legs! Once you learn the proper way to oven braise tough cuts, you’ll find you no longer need a specific recipe. The method is the same, the temps and times vary a little, the liquids, spices and herbs are what you like.

KEY RULES:
So what key rules are there to remember for a great braised meat?
1. Sear: Brown the meat first to allow a nice deep rich “fonde” to develop on the meat for a maximum rich, dark sauce.
2. Liquid: Have enough liquid to cover the meat for creating a great sauce/gravy for the meat to “bathe” in.
3. Temperature: Keep the temperature low so water in the cell structure doesn’t release out of the meat causing the meat to be dry. Depending on the cut or animal, I tend to braise red meat no higher than 300 degrees, and birds, rabbits, no higher than 275 degrees.
4. Slow: Allow the marrow in the bones the time to break down and melt into the sauce for an unctious coating on the tongue by leaving it in the oven for hours.
5. Patience: Allowing the finished dish to be in the fridge for a day or two for the flavors to really develop. Patience is definitely a virtue when it comes to braising!!
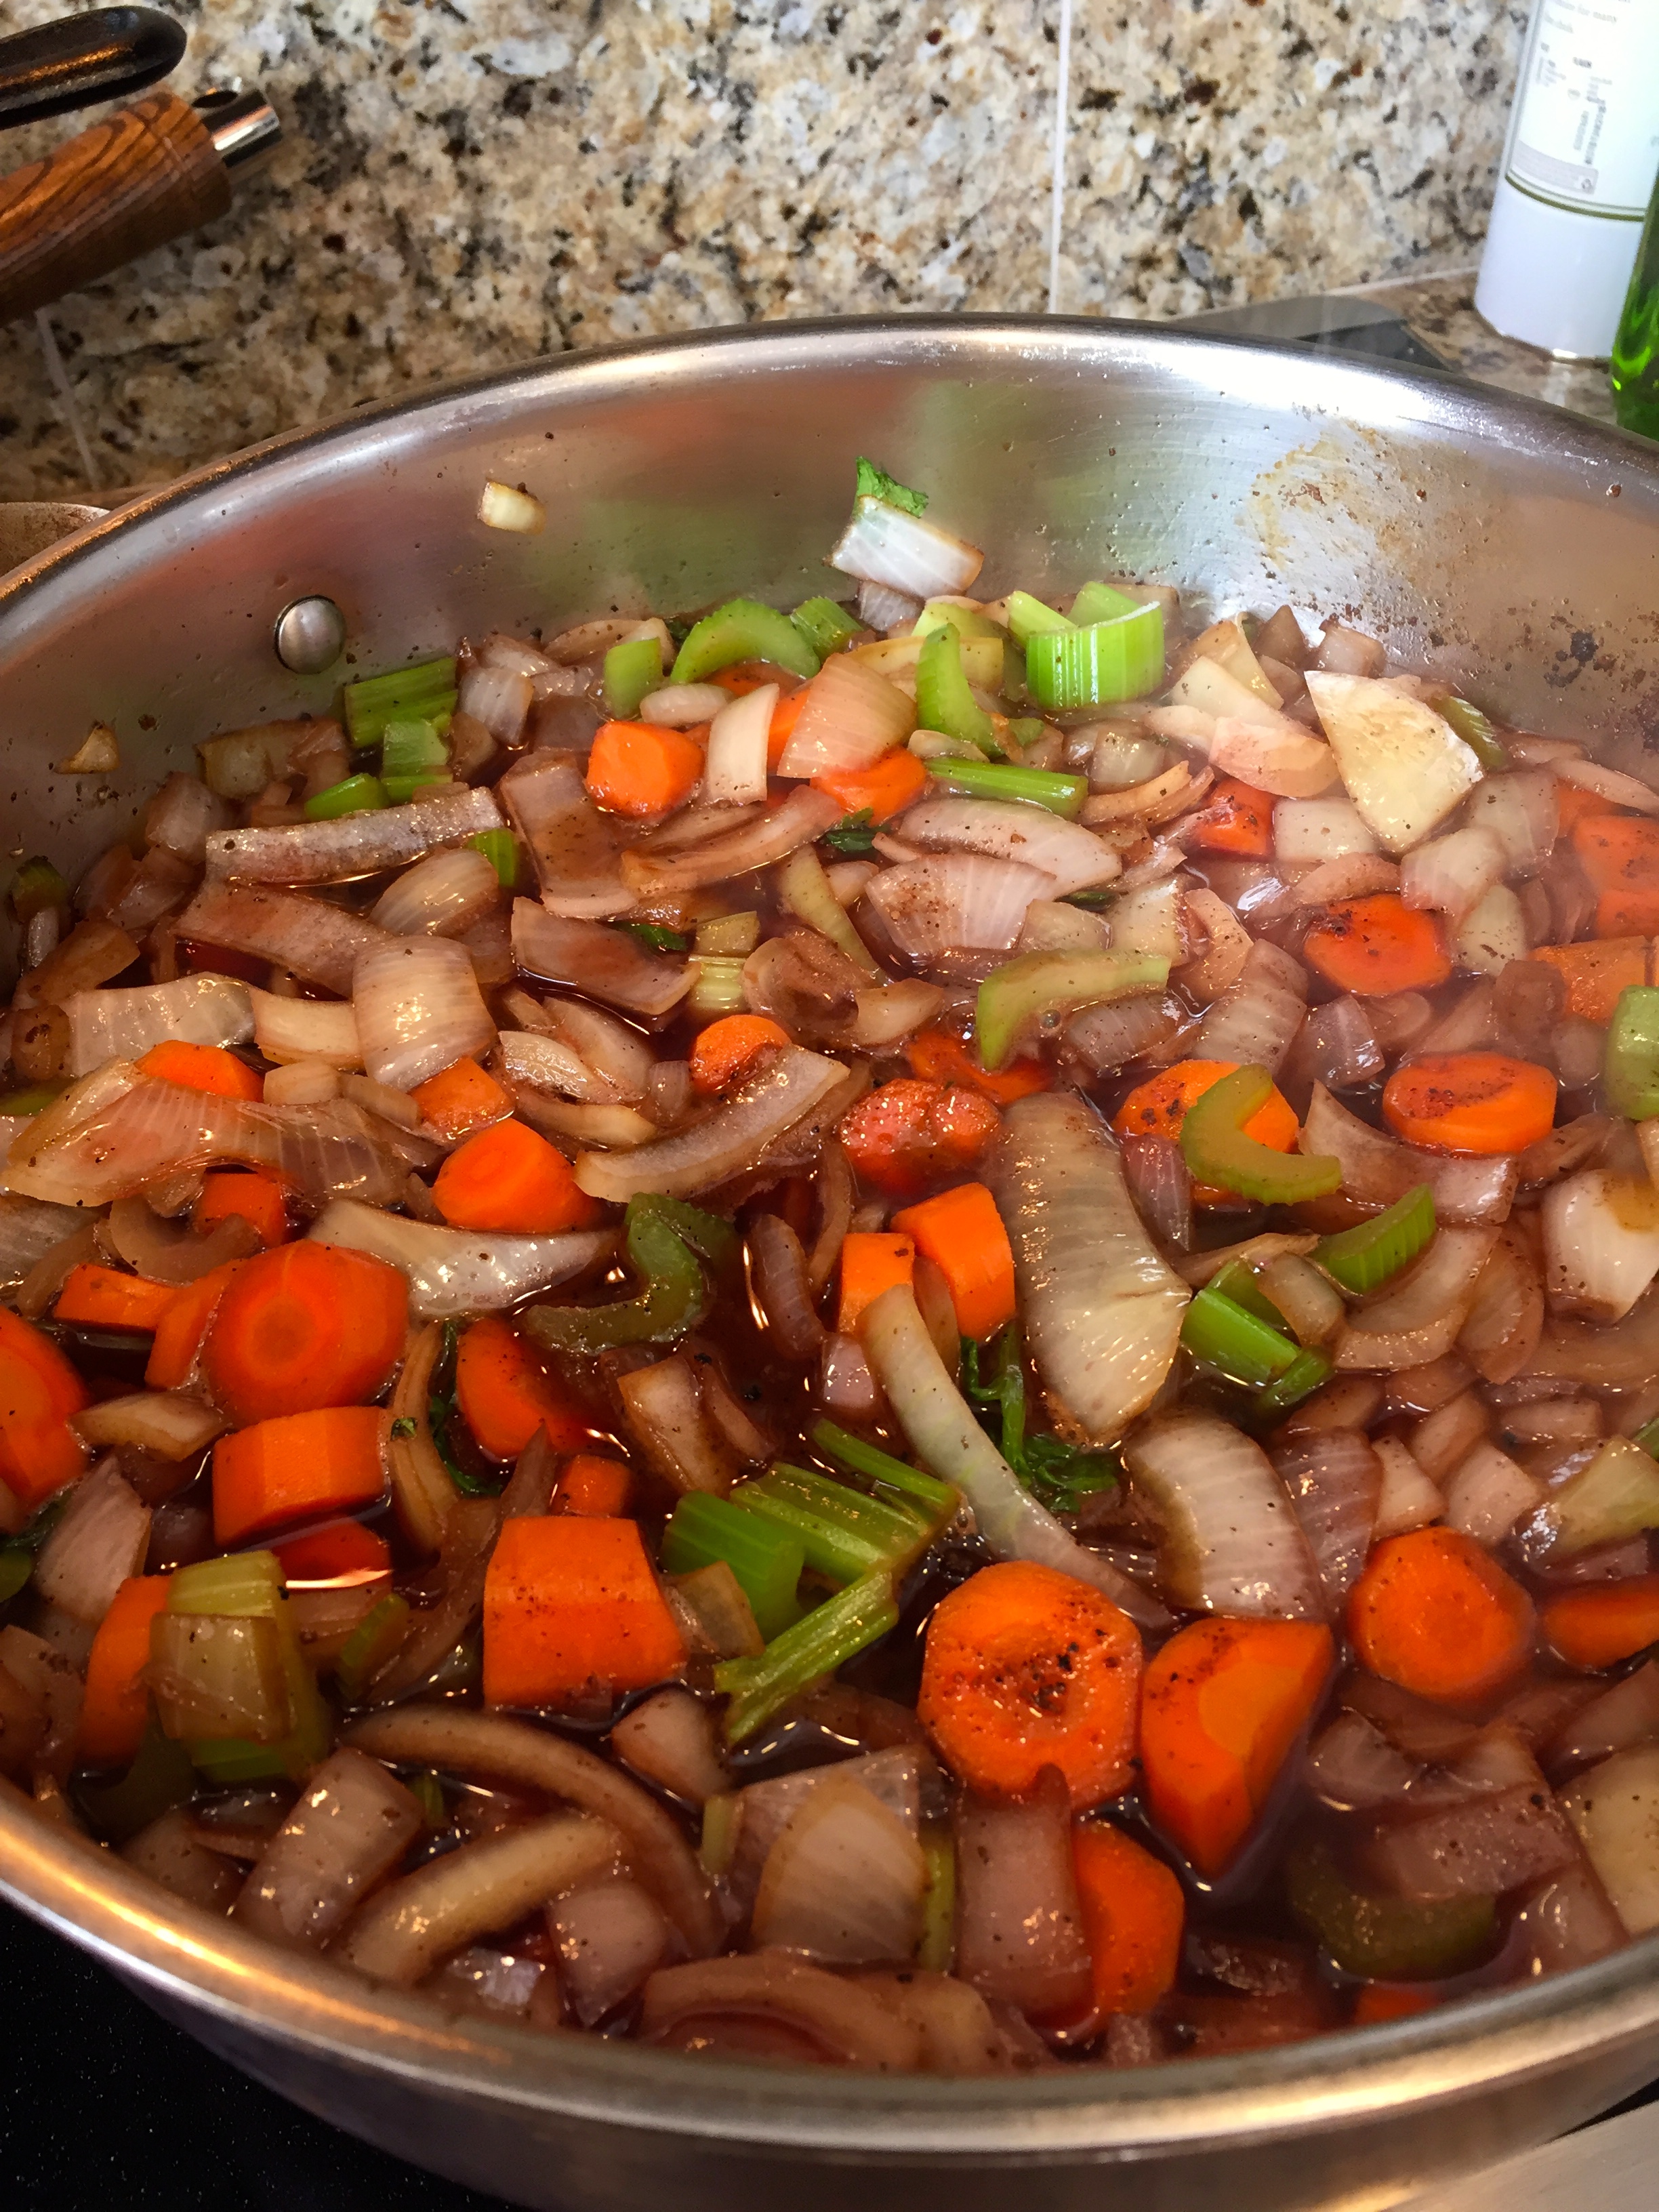
Here are basic steps with some photos to help you along. I didn’t include all of them, but I’m sure you’ll get the idea. With all braising, the base vegetables I use are onions, carrots, and celery. I have also added leeks on occasion. Garlic is another flavor I use in most of my recipes.
“Mise En Place” Gather all the ingredients you’ll be using ready and in one place. It makes quick work of cooking and less likely you’ll forget something.
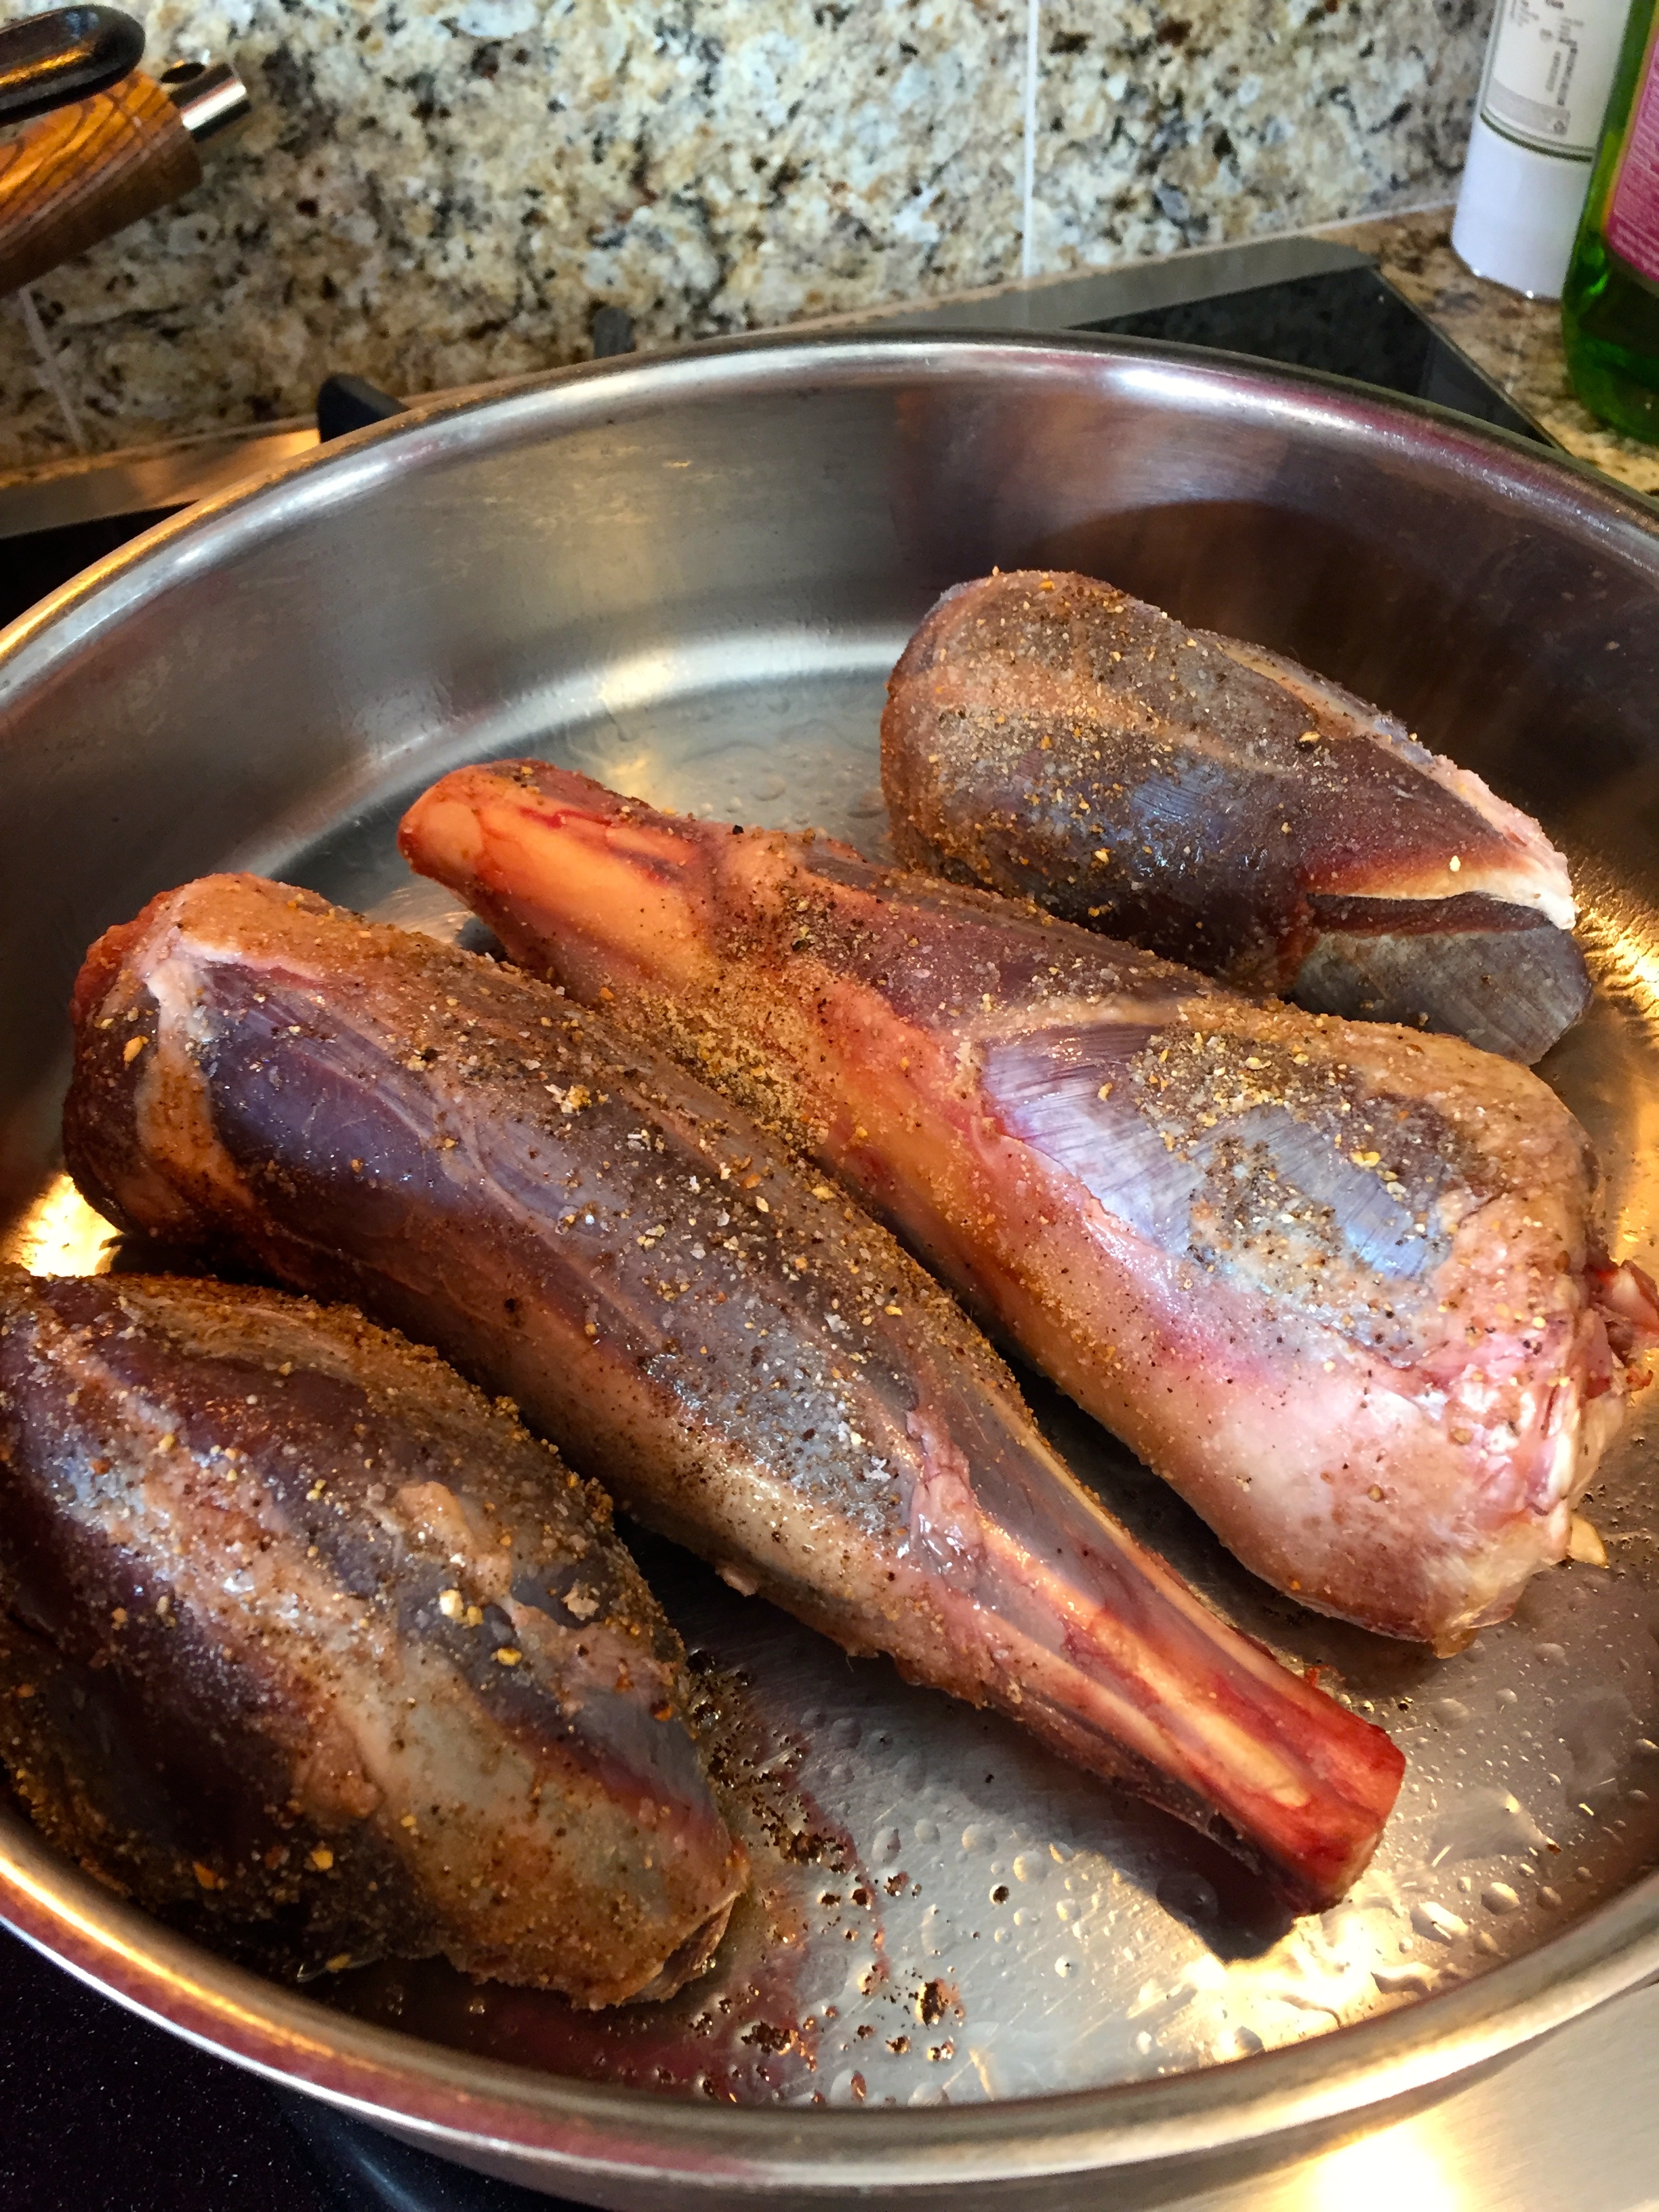
Bring the meat to room temperature by leaving it on the counter one hour before cooking. This helps the meat brown better. If it’s too cold, the meat will “sweat” and not develop that nice brown crust on the outside.
Season the meat with kosher salt and fresh cracked pepper.
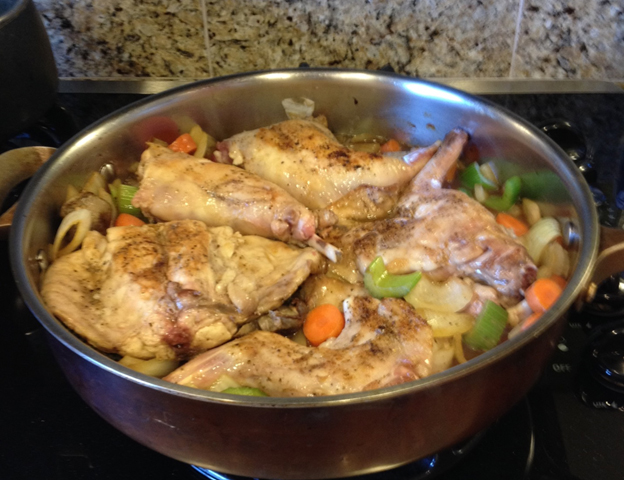
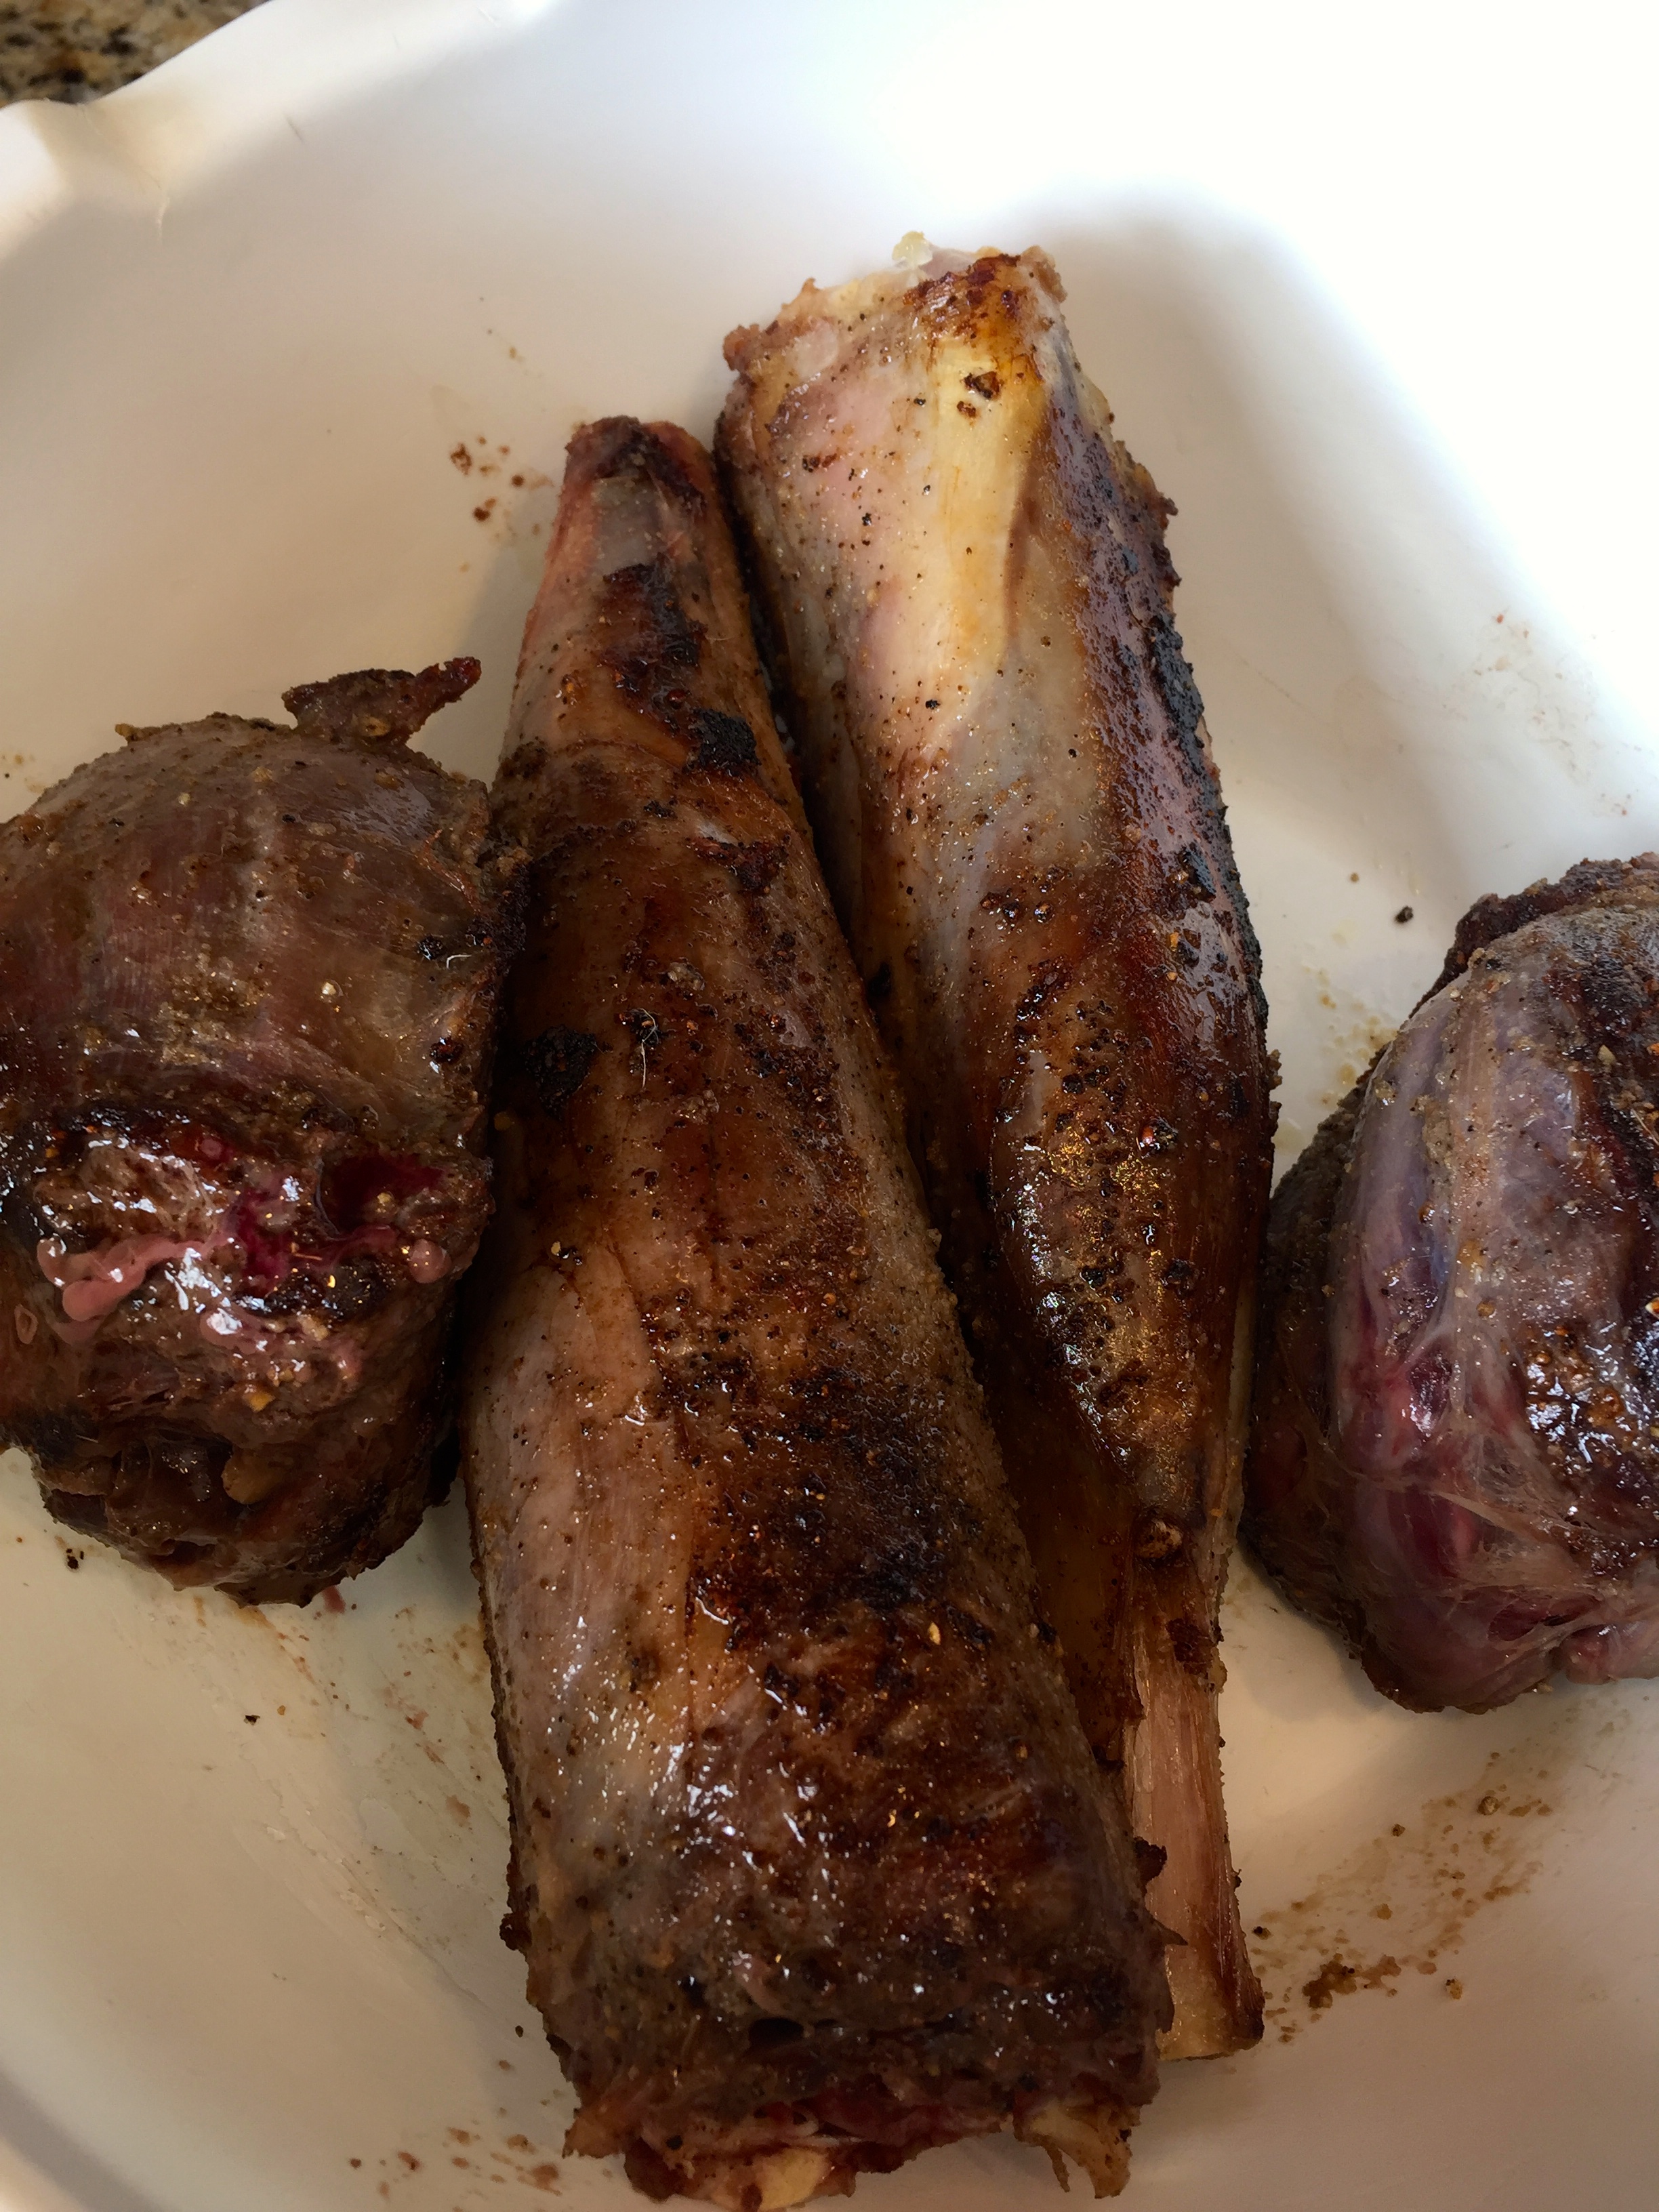
Heat a large frying pan over medium-high heat and add a coating of grape seed oil. Add the shanks, a few at a time, and allow to sear until browned. Then turn over and brown the other side.
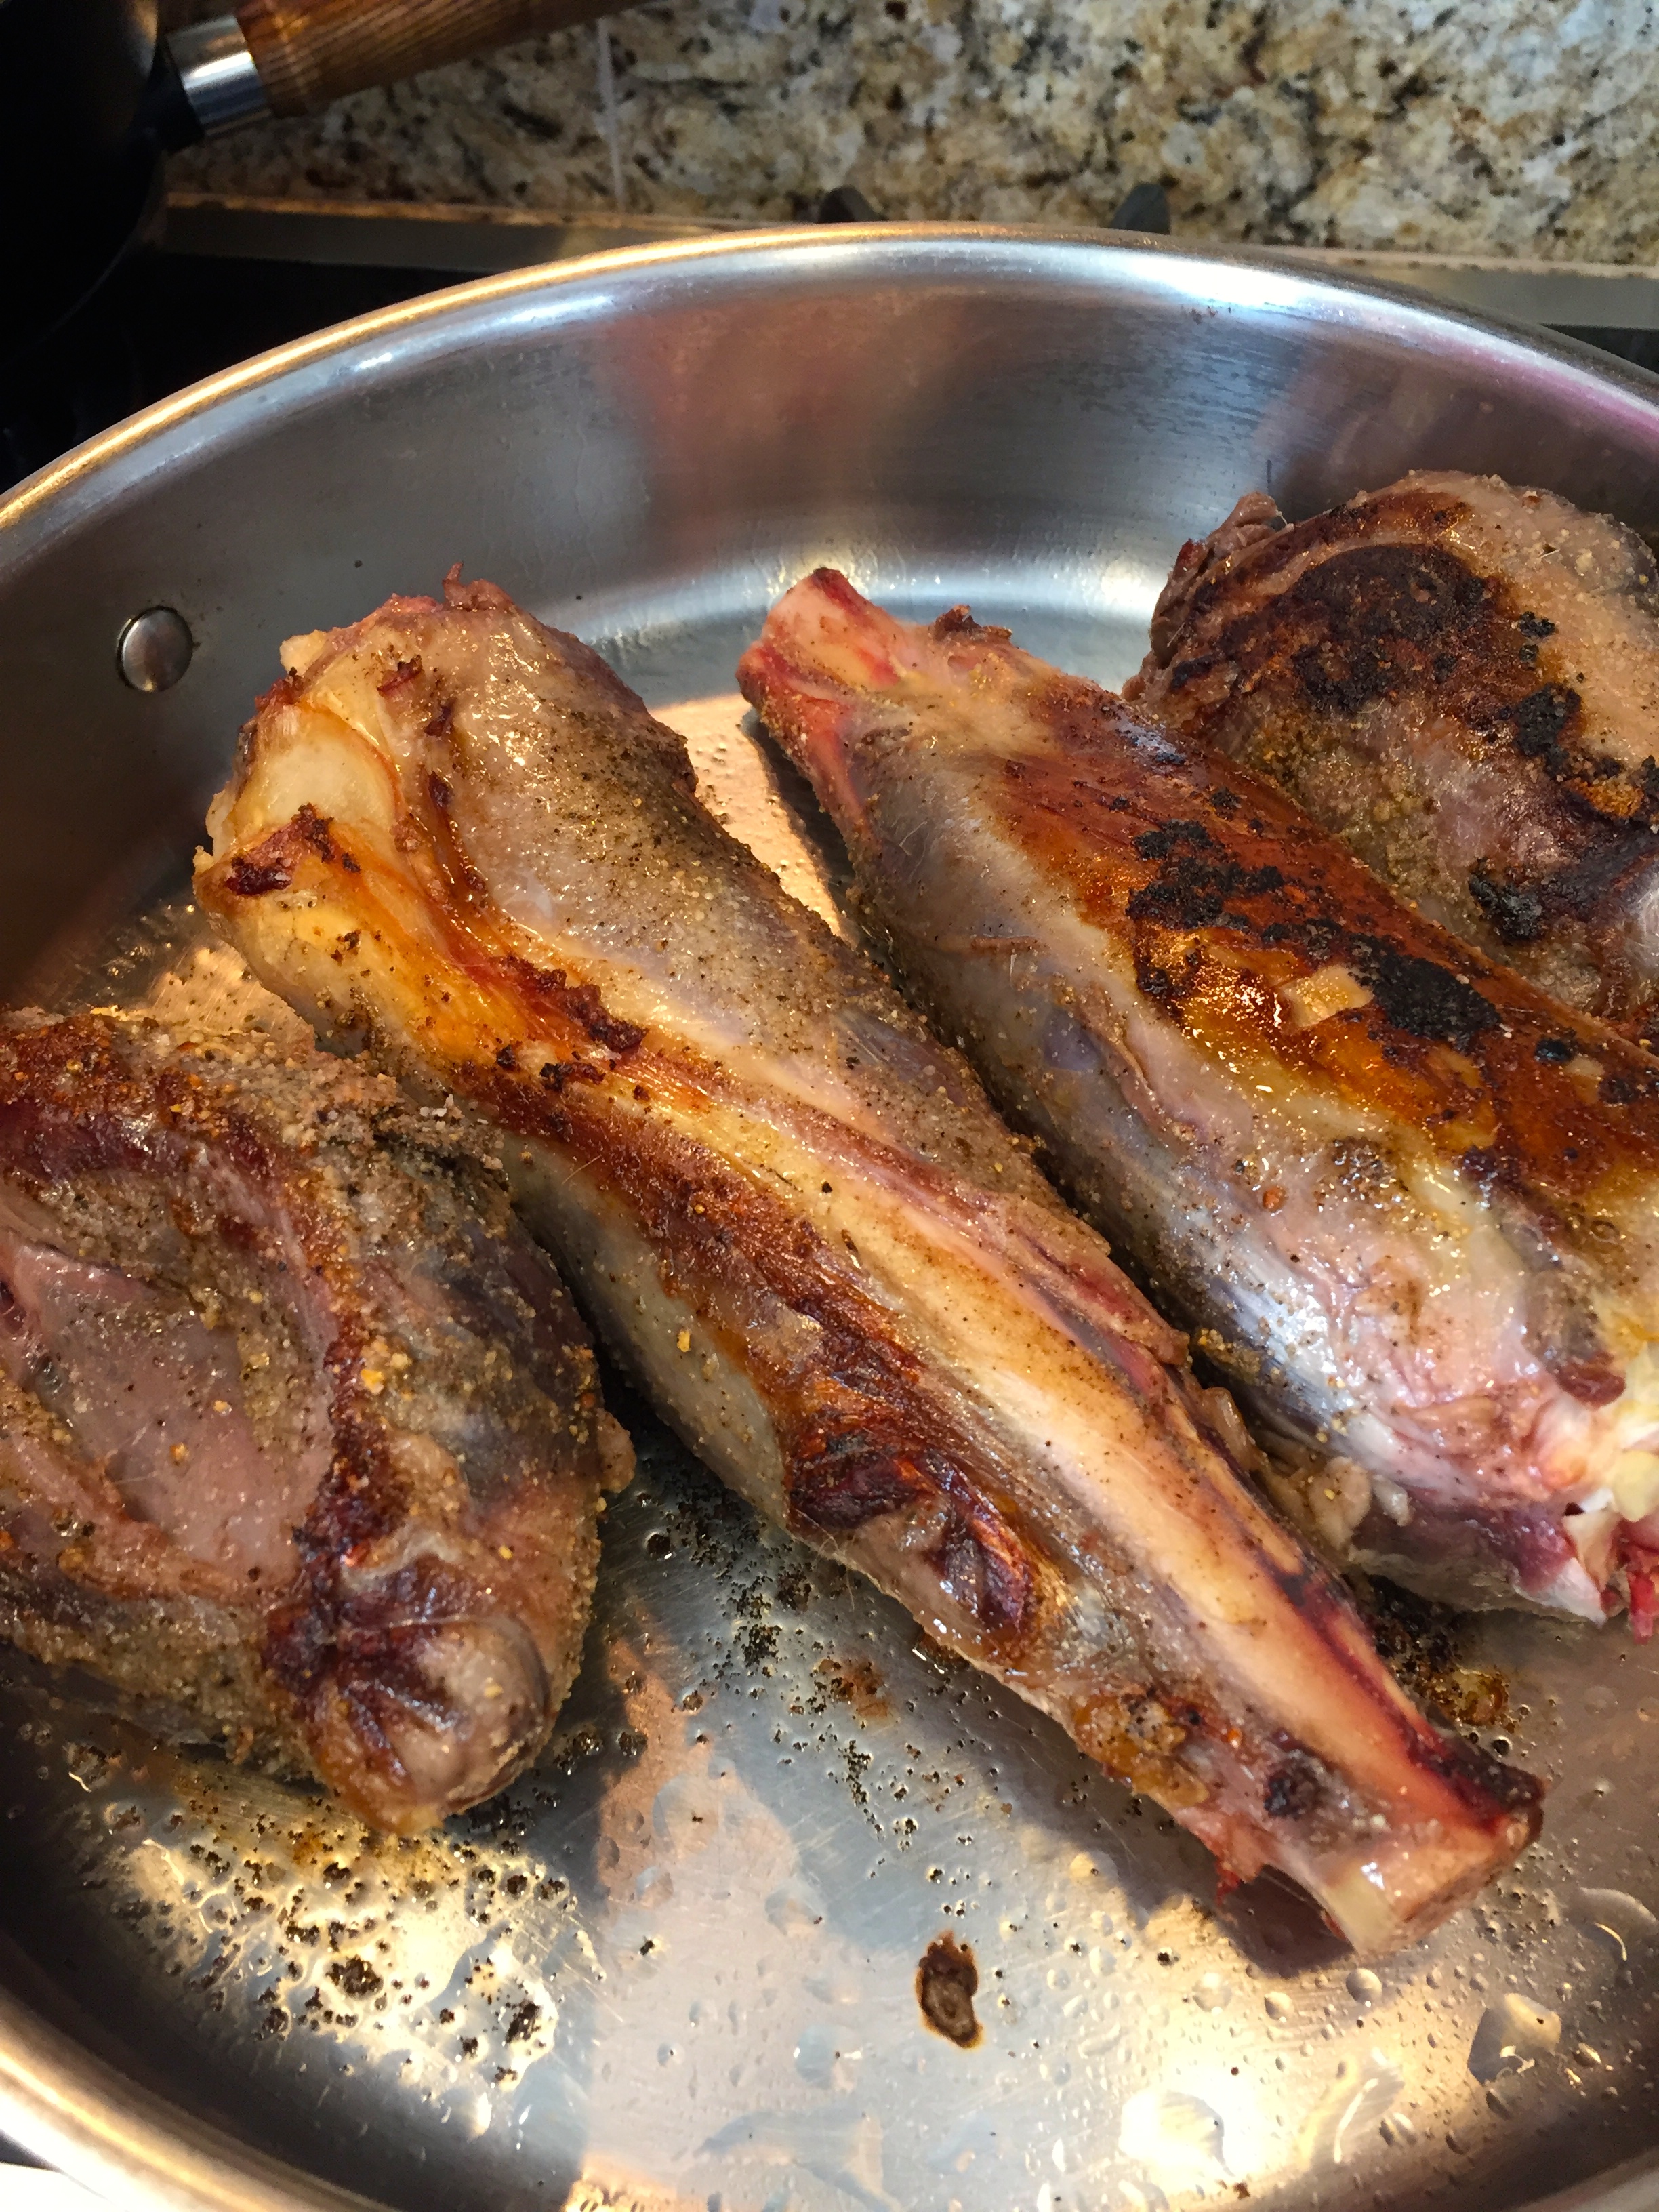
Once the shanks are browned, remove them to a bowl or plate.
Add more oil if needed, then add the chopped vegetables.
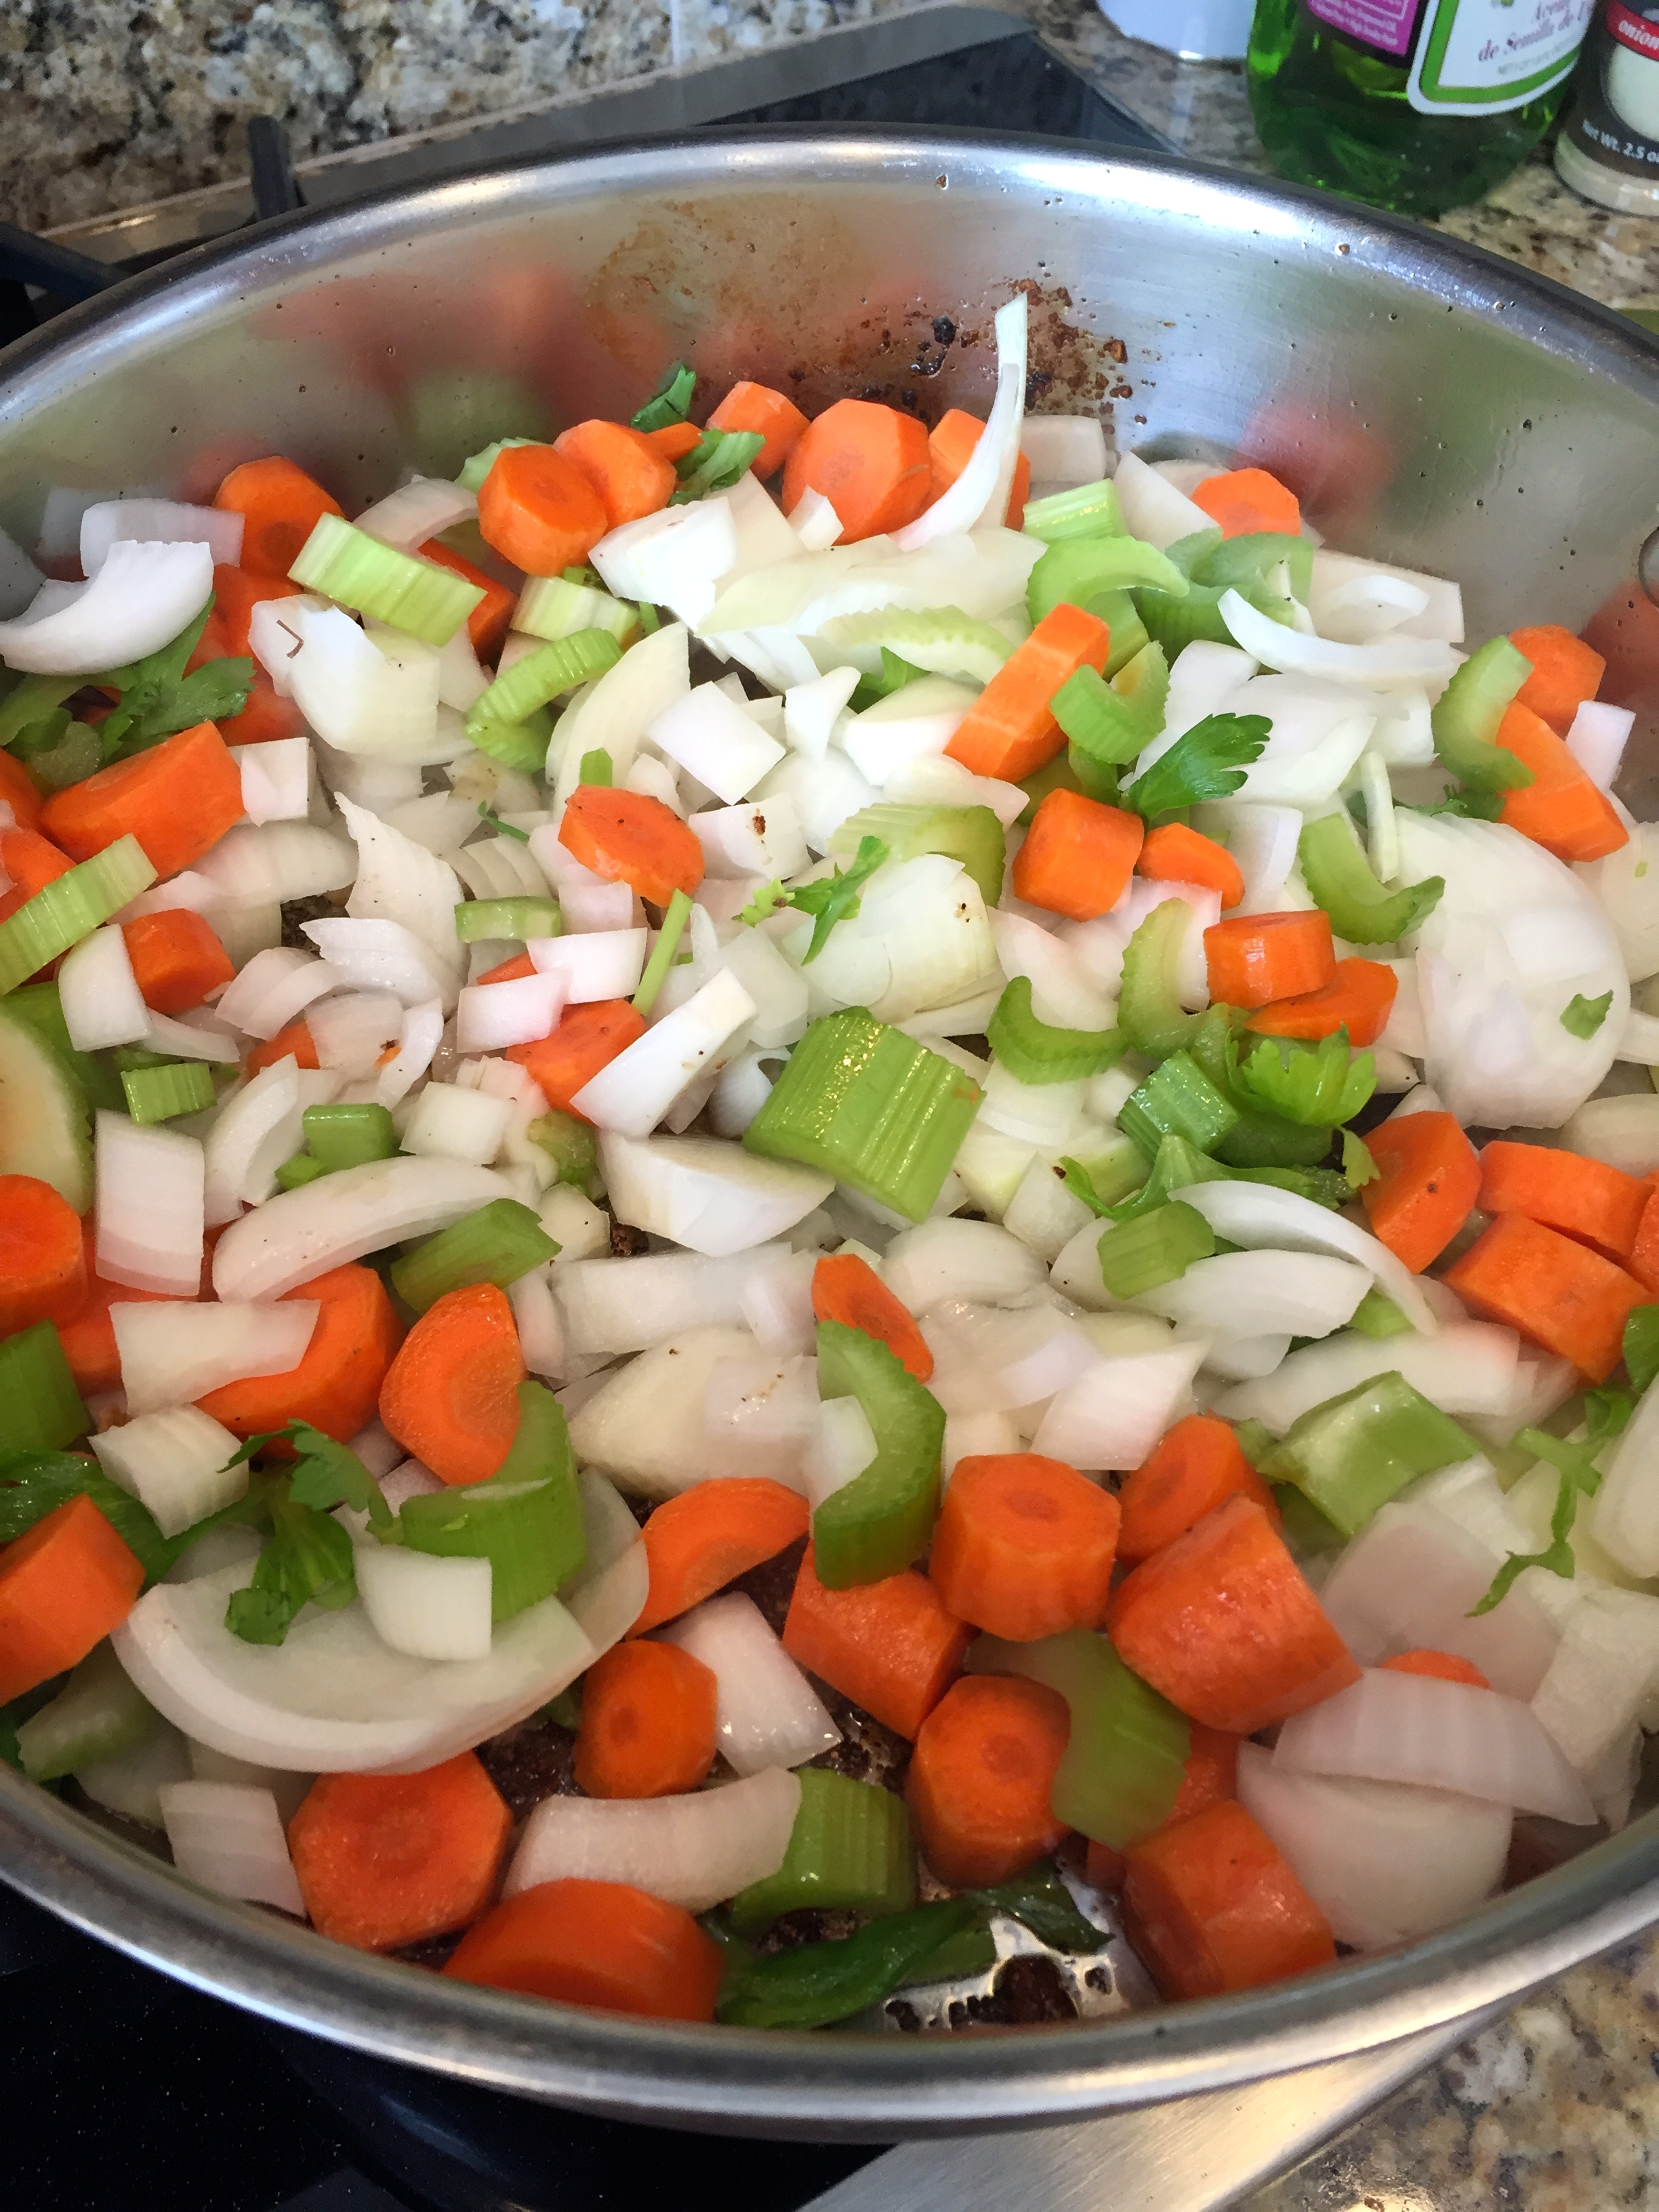
Continue to stir them as they caramelize, about 5 minutes.
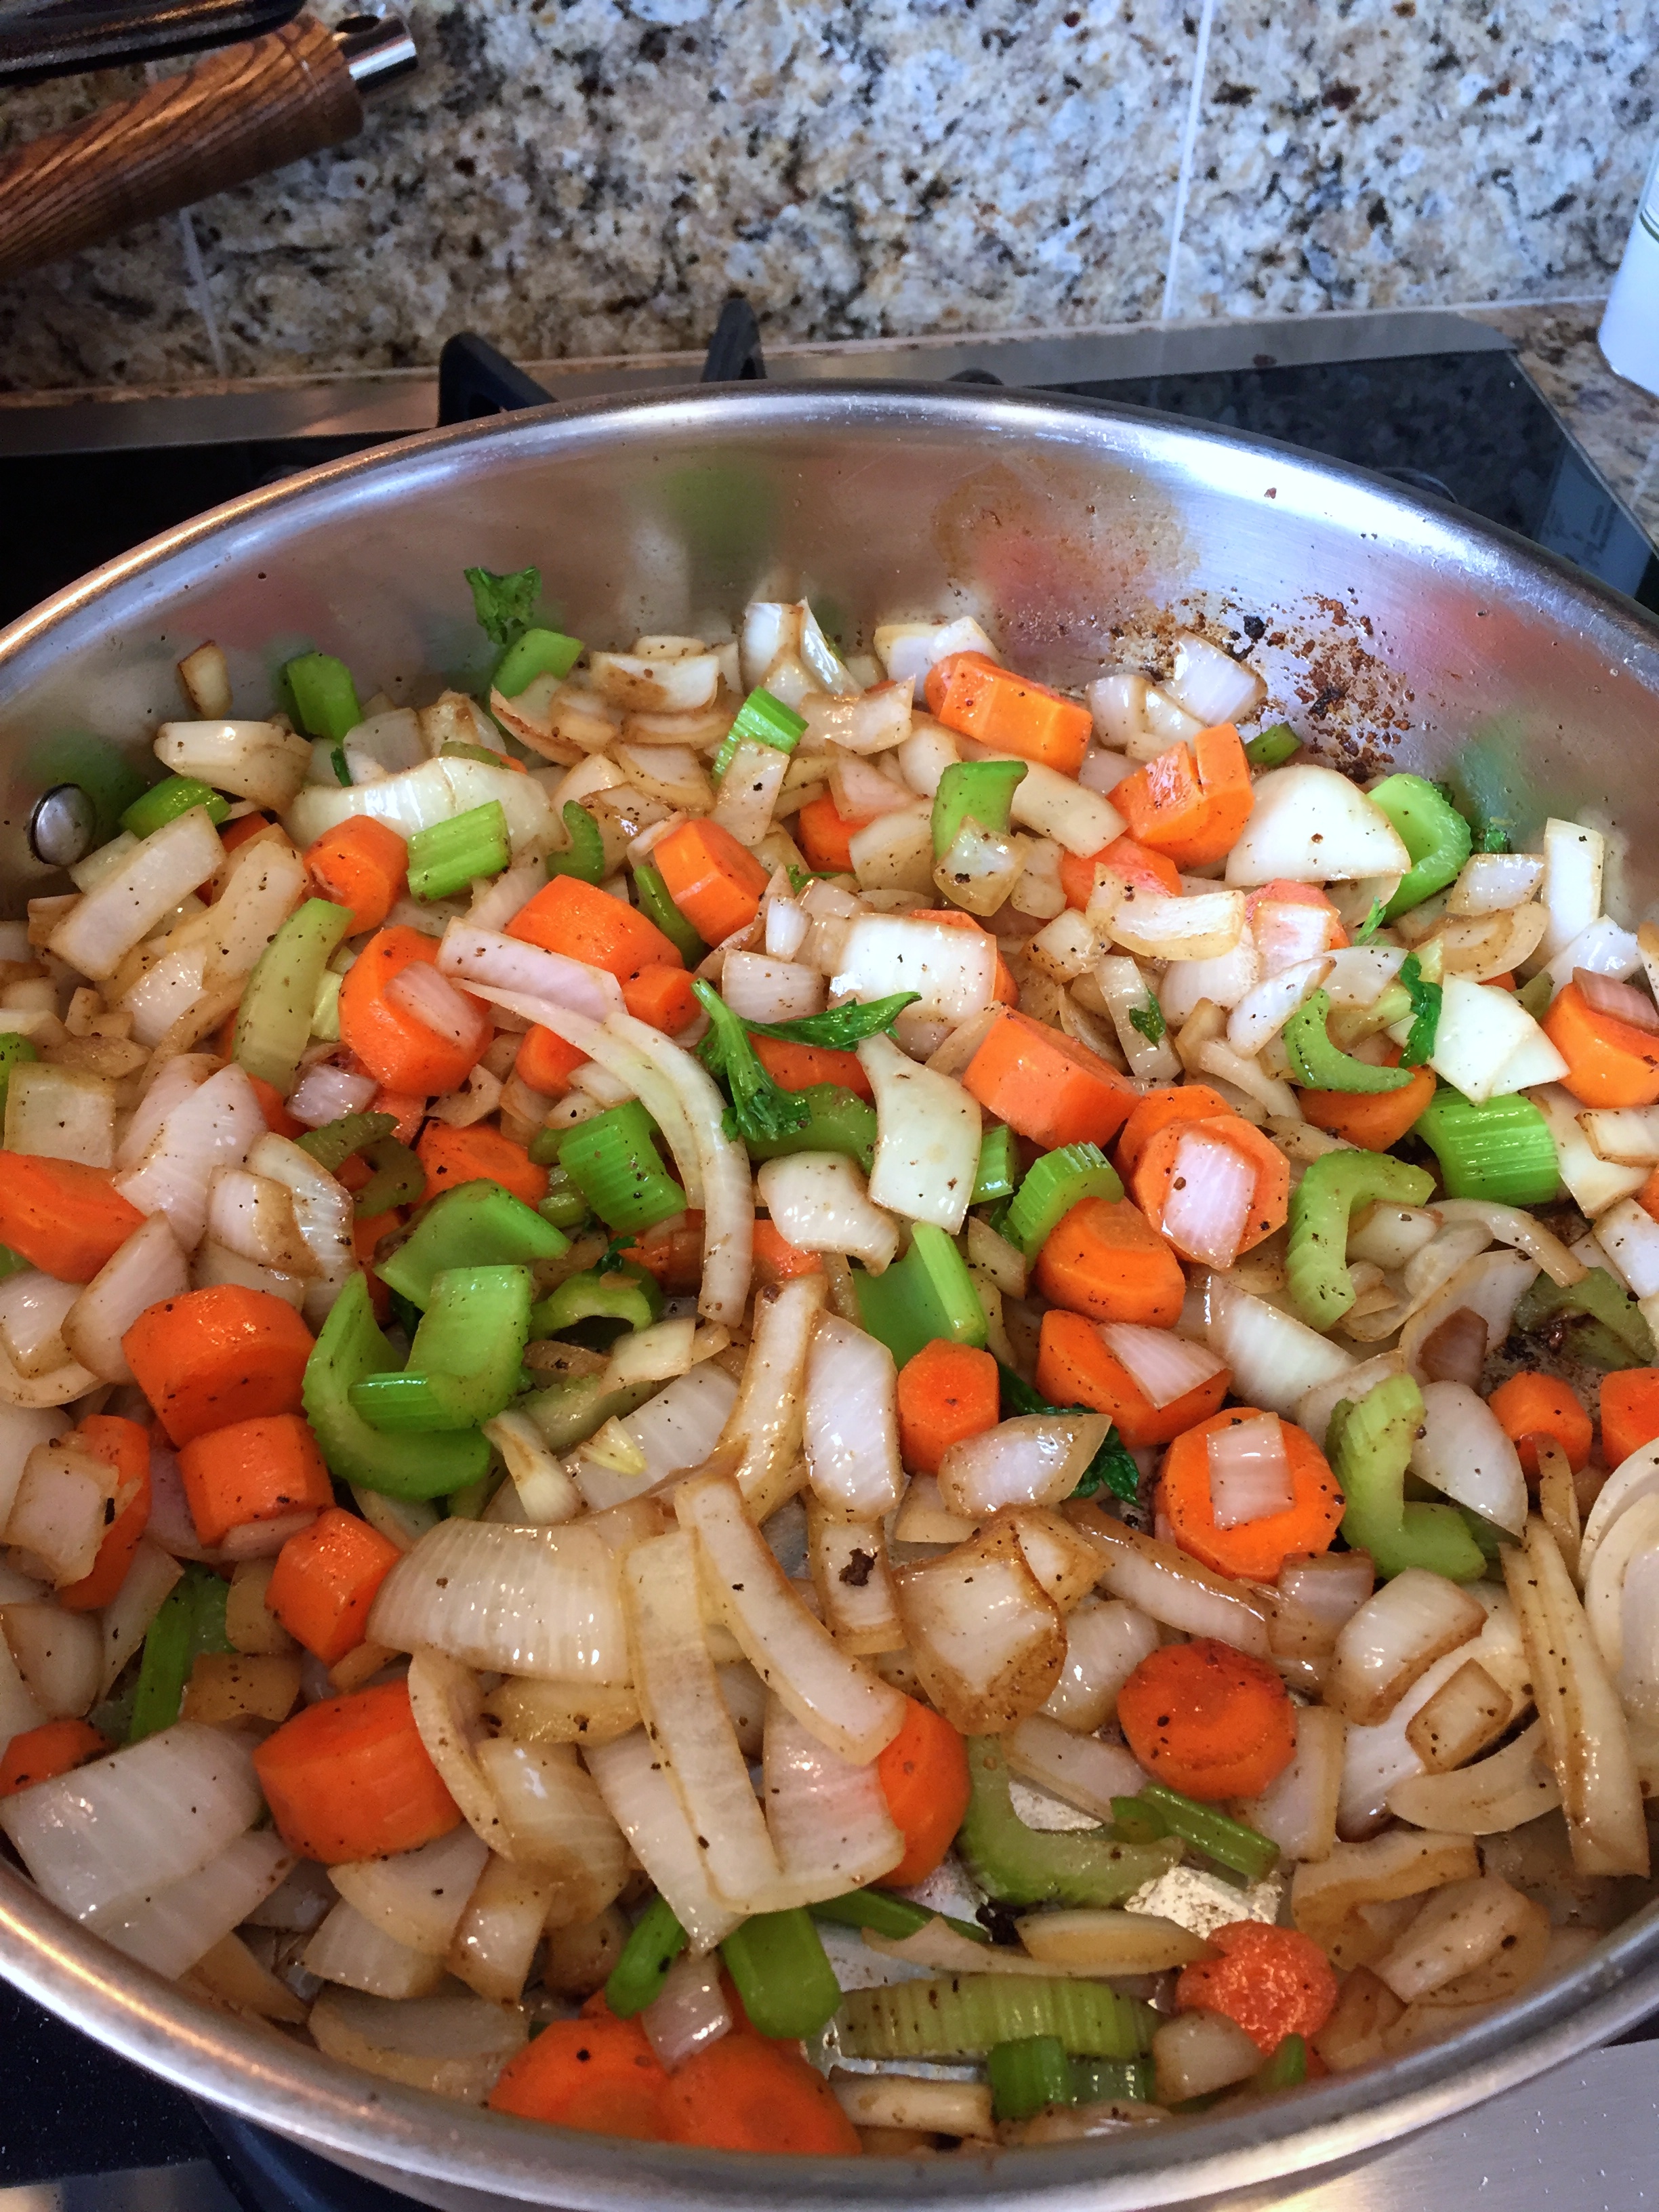
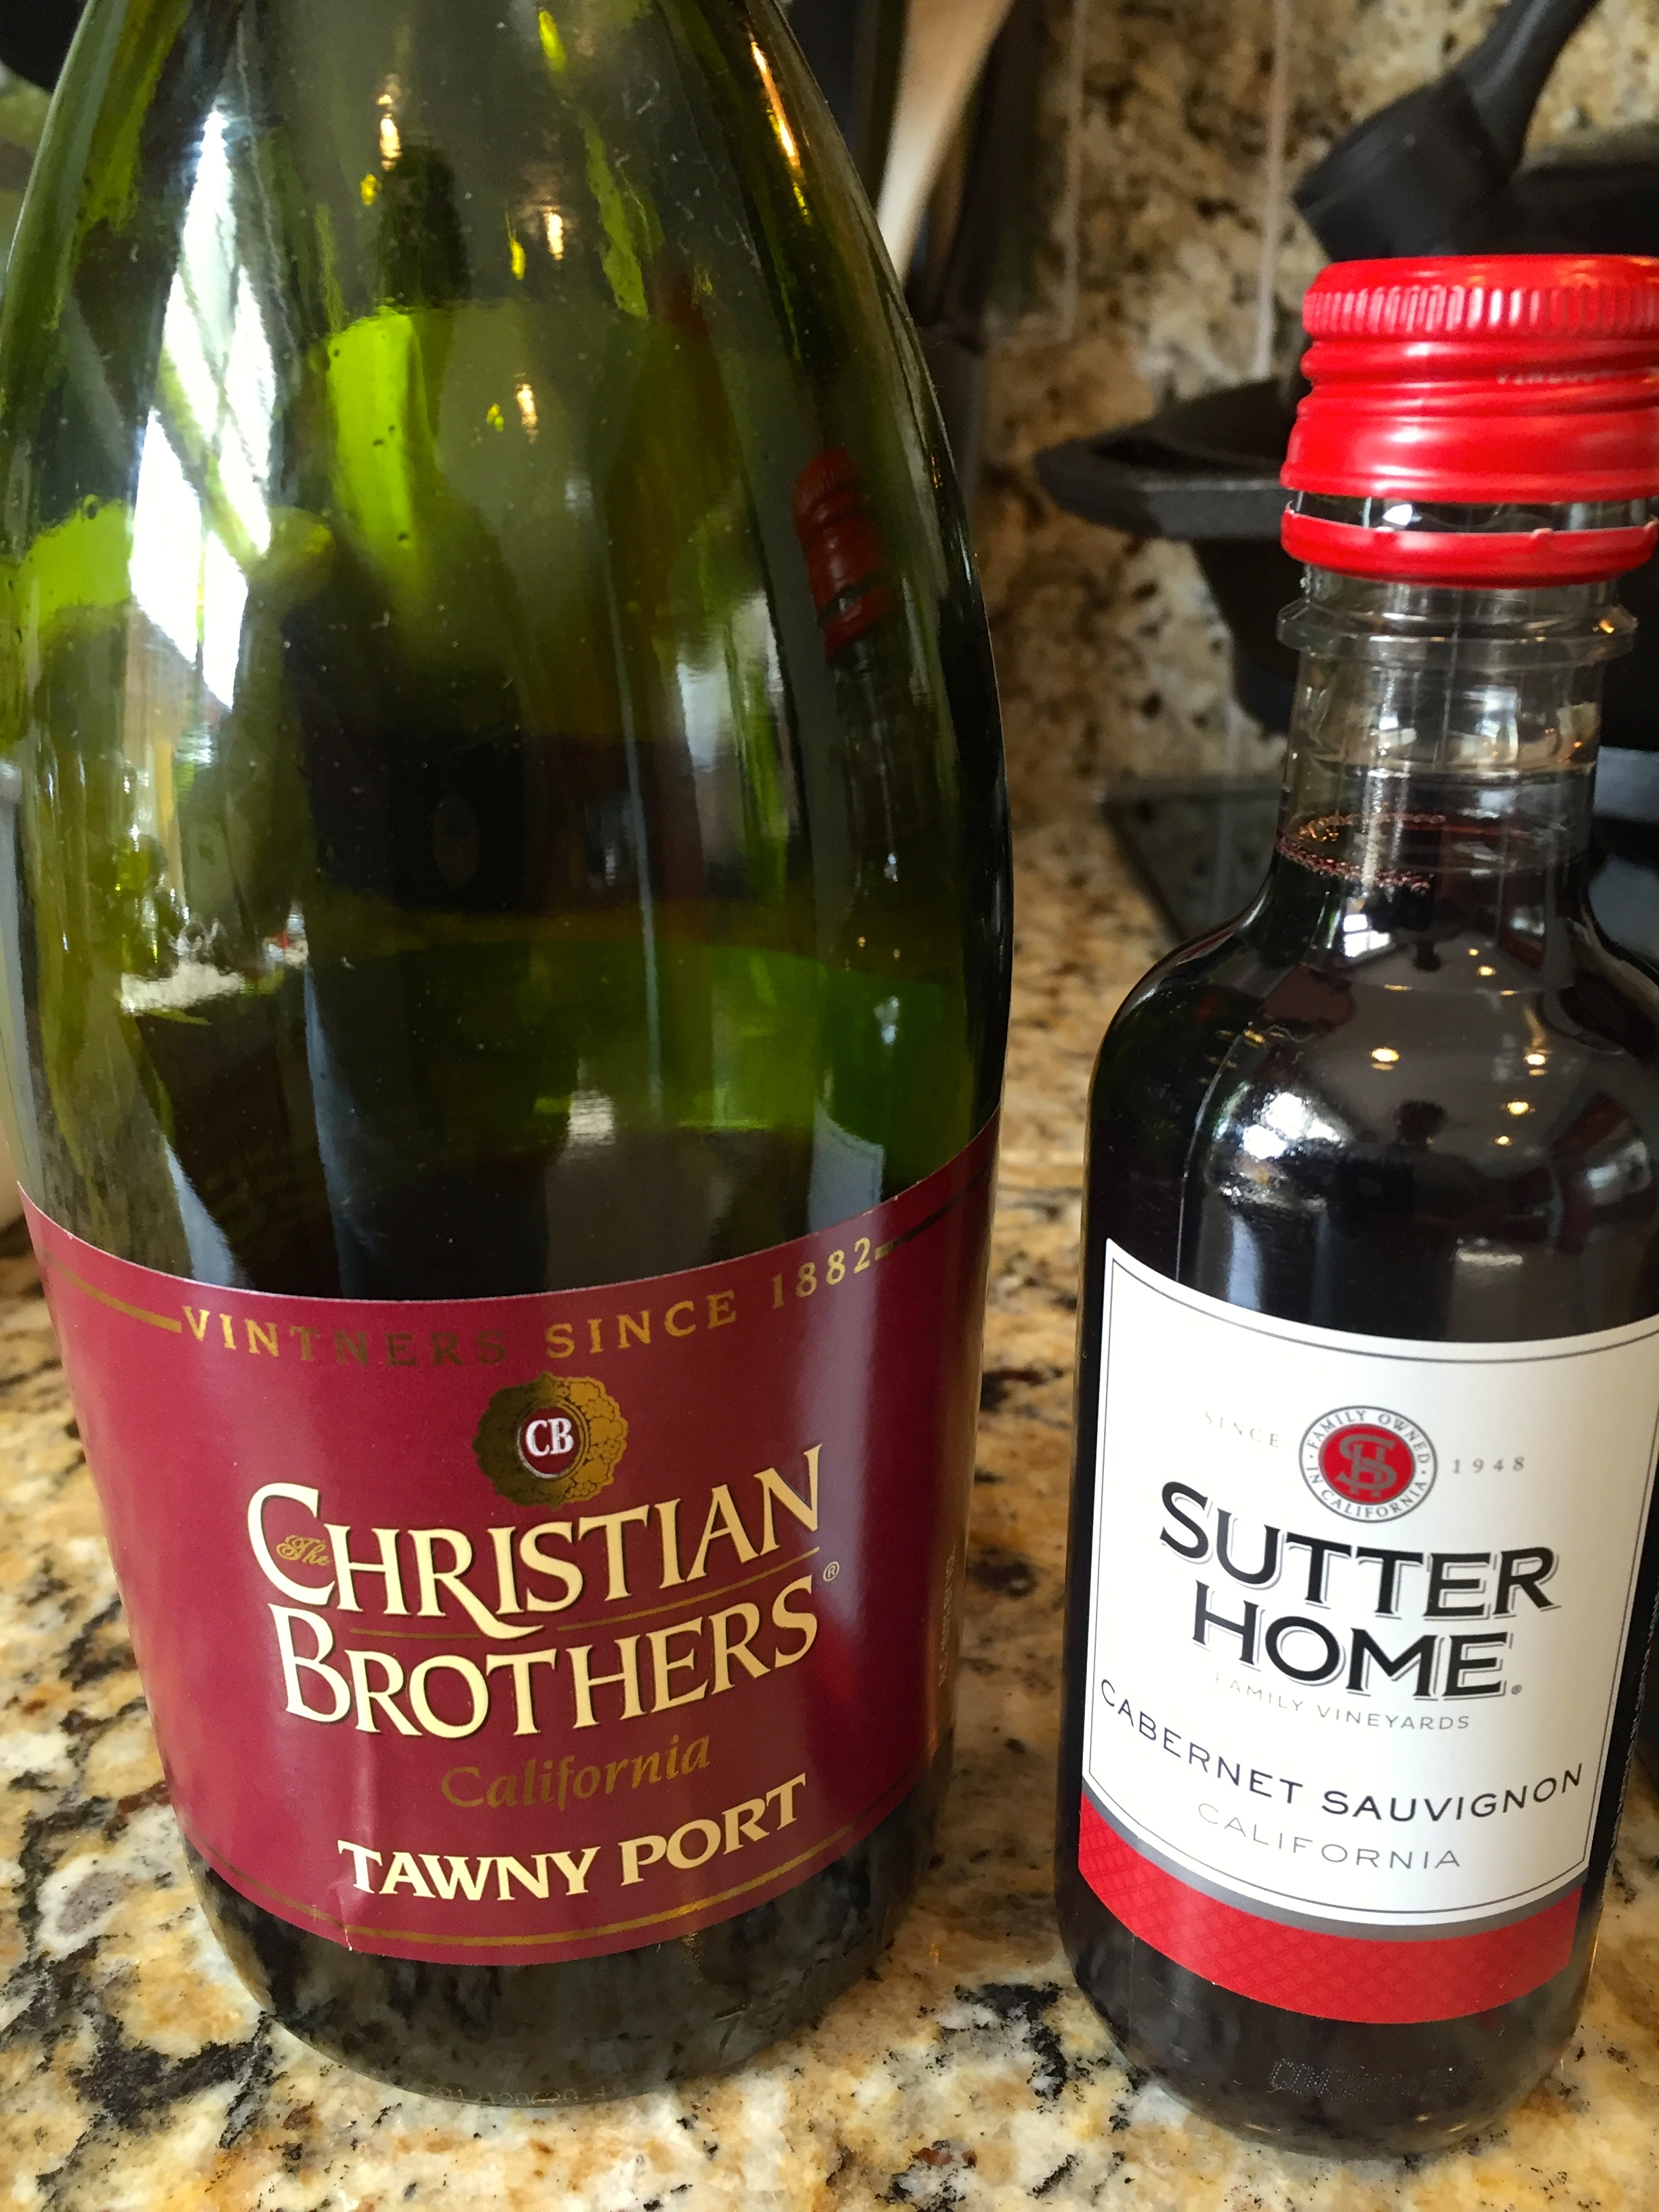
Pour in the wine.
Bring just to a boil.
Add the meat back to the pan (or place everything in a casserole dish.
Add the remaining ingredients.
Make a cartouche from a piece of parchment or baking paper, and place it directly over the meat, and push down on it so the liquid comes up over the paper. Making a cartouche isn’t necessary, but I do it so the meat stays moist on top, and I don’t have to flip the meat over half way through.
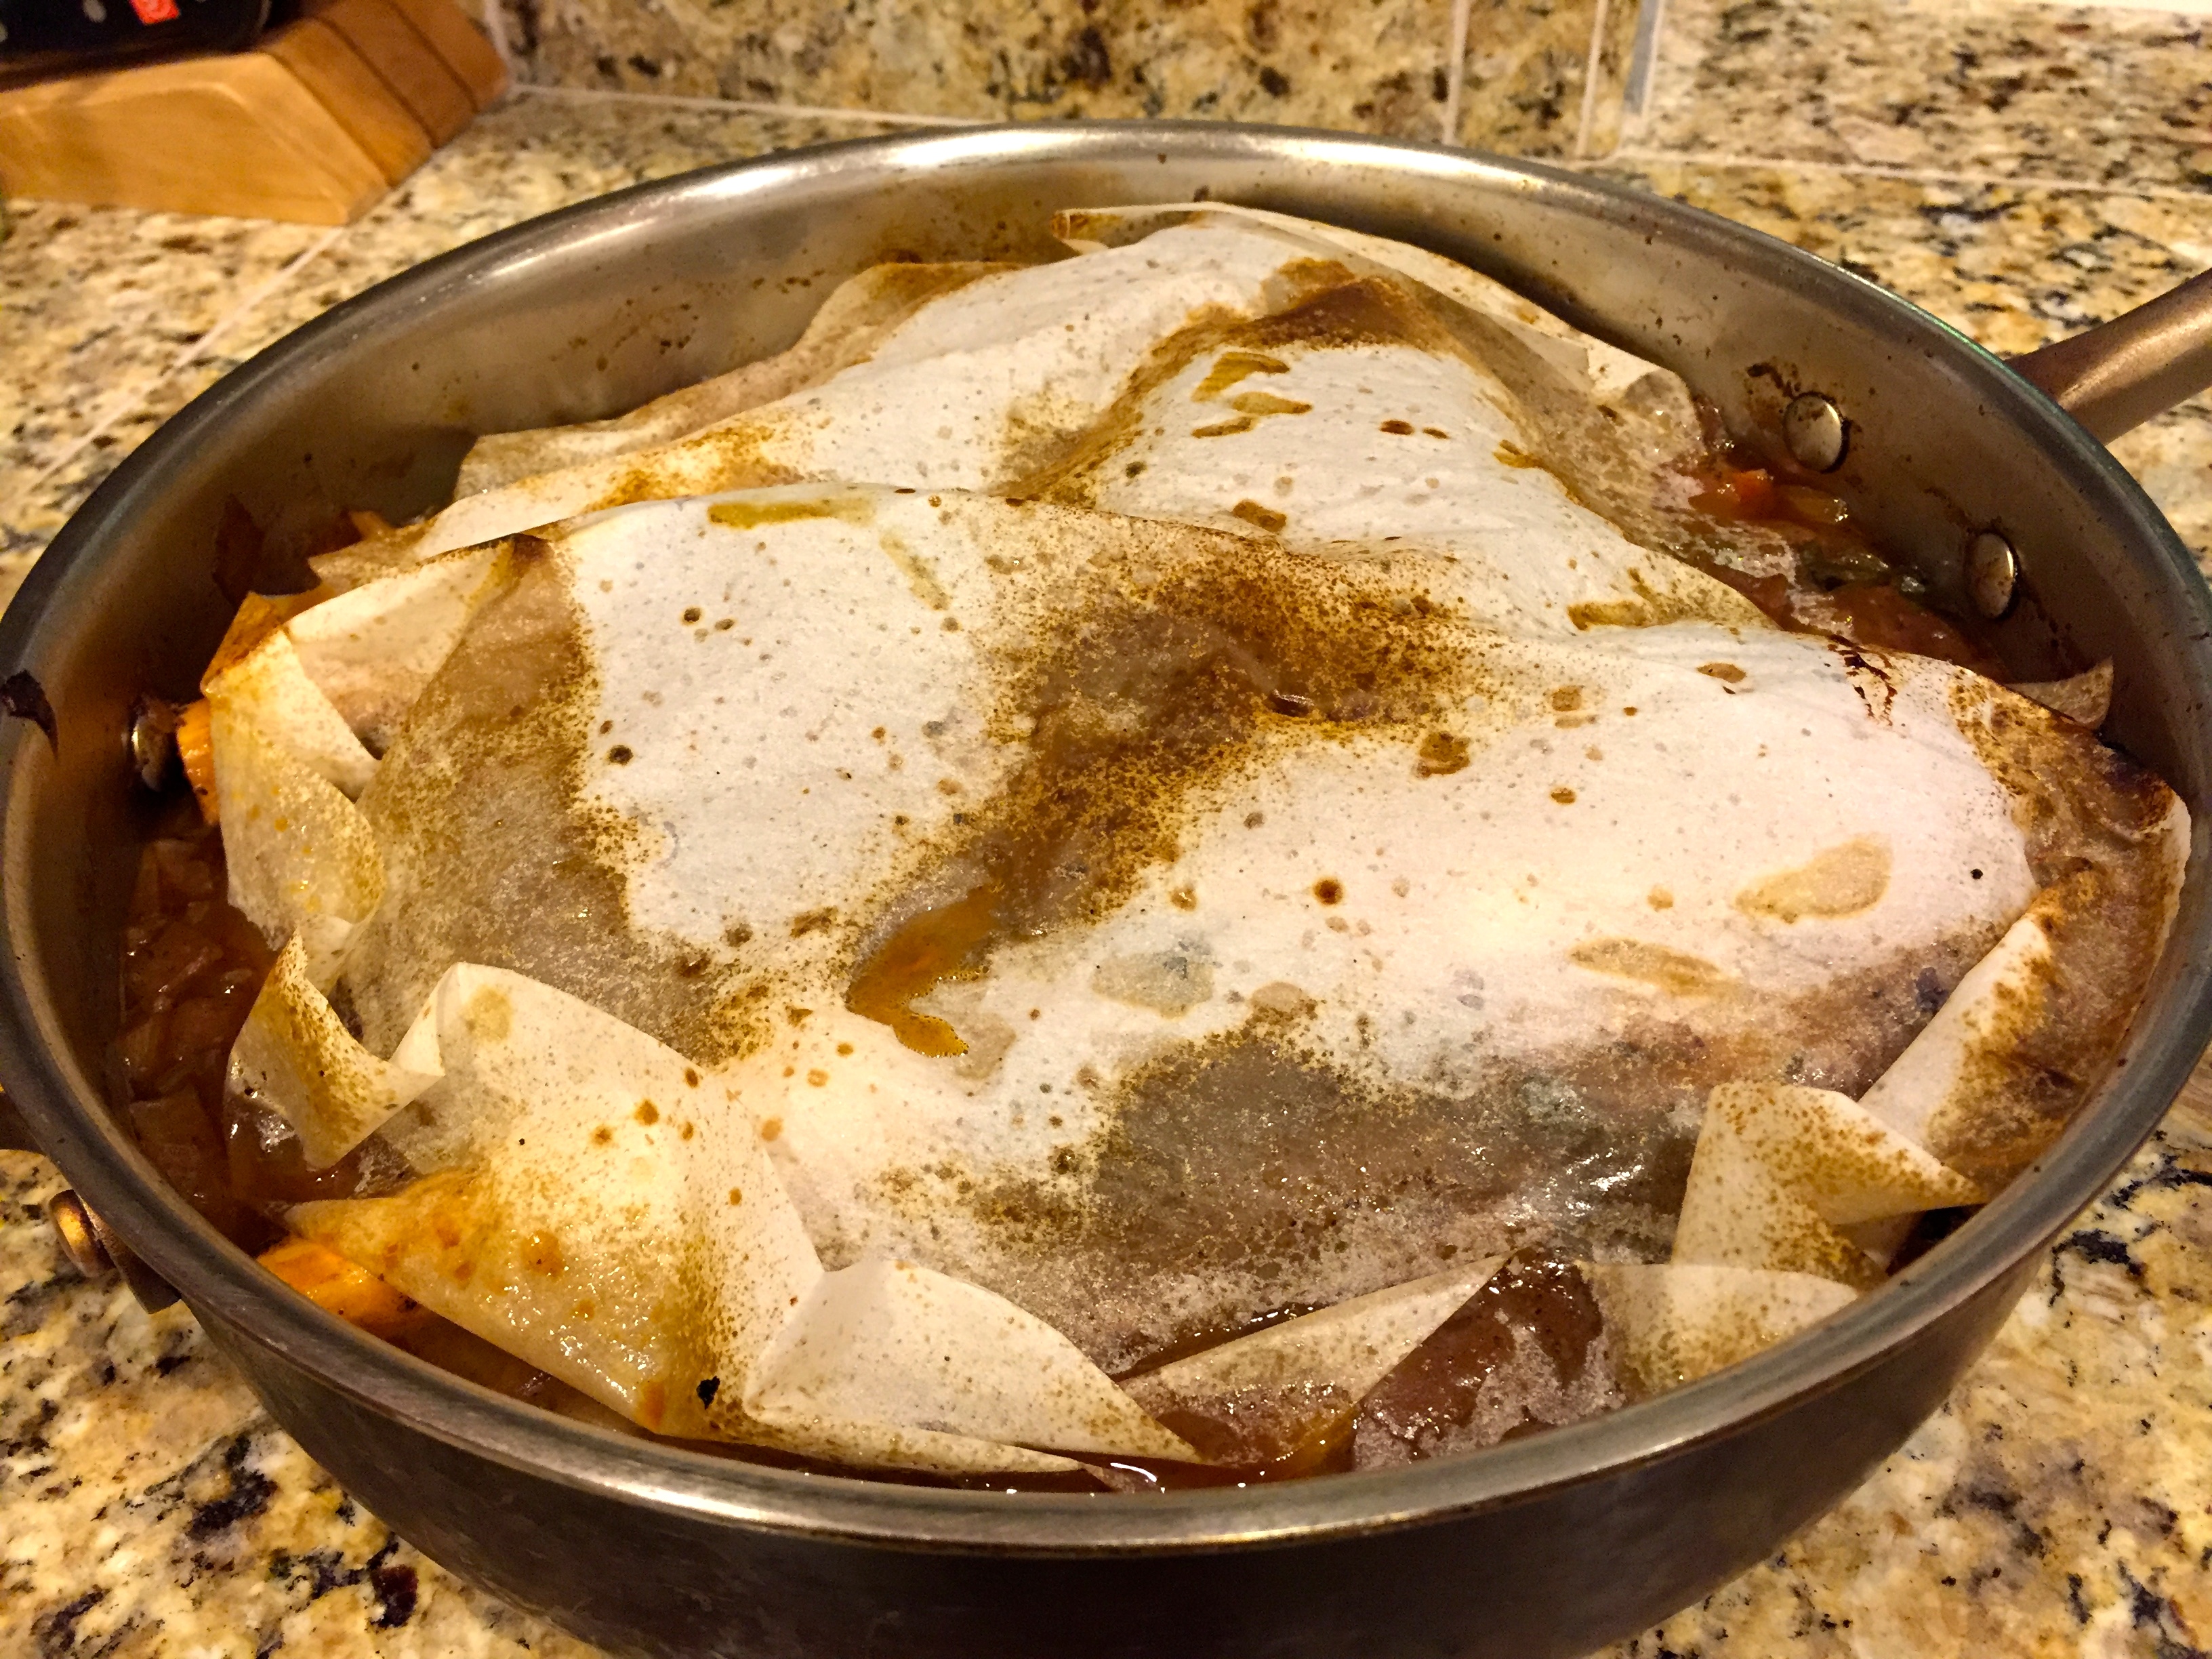
Cover the pan with the lid or dish with aluminum foil and place in the oven at the temperature and timer set for what is needed.

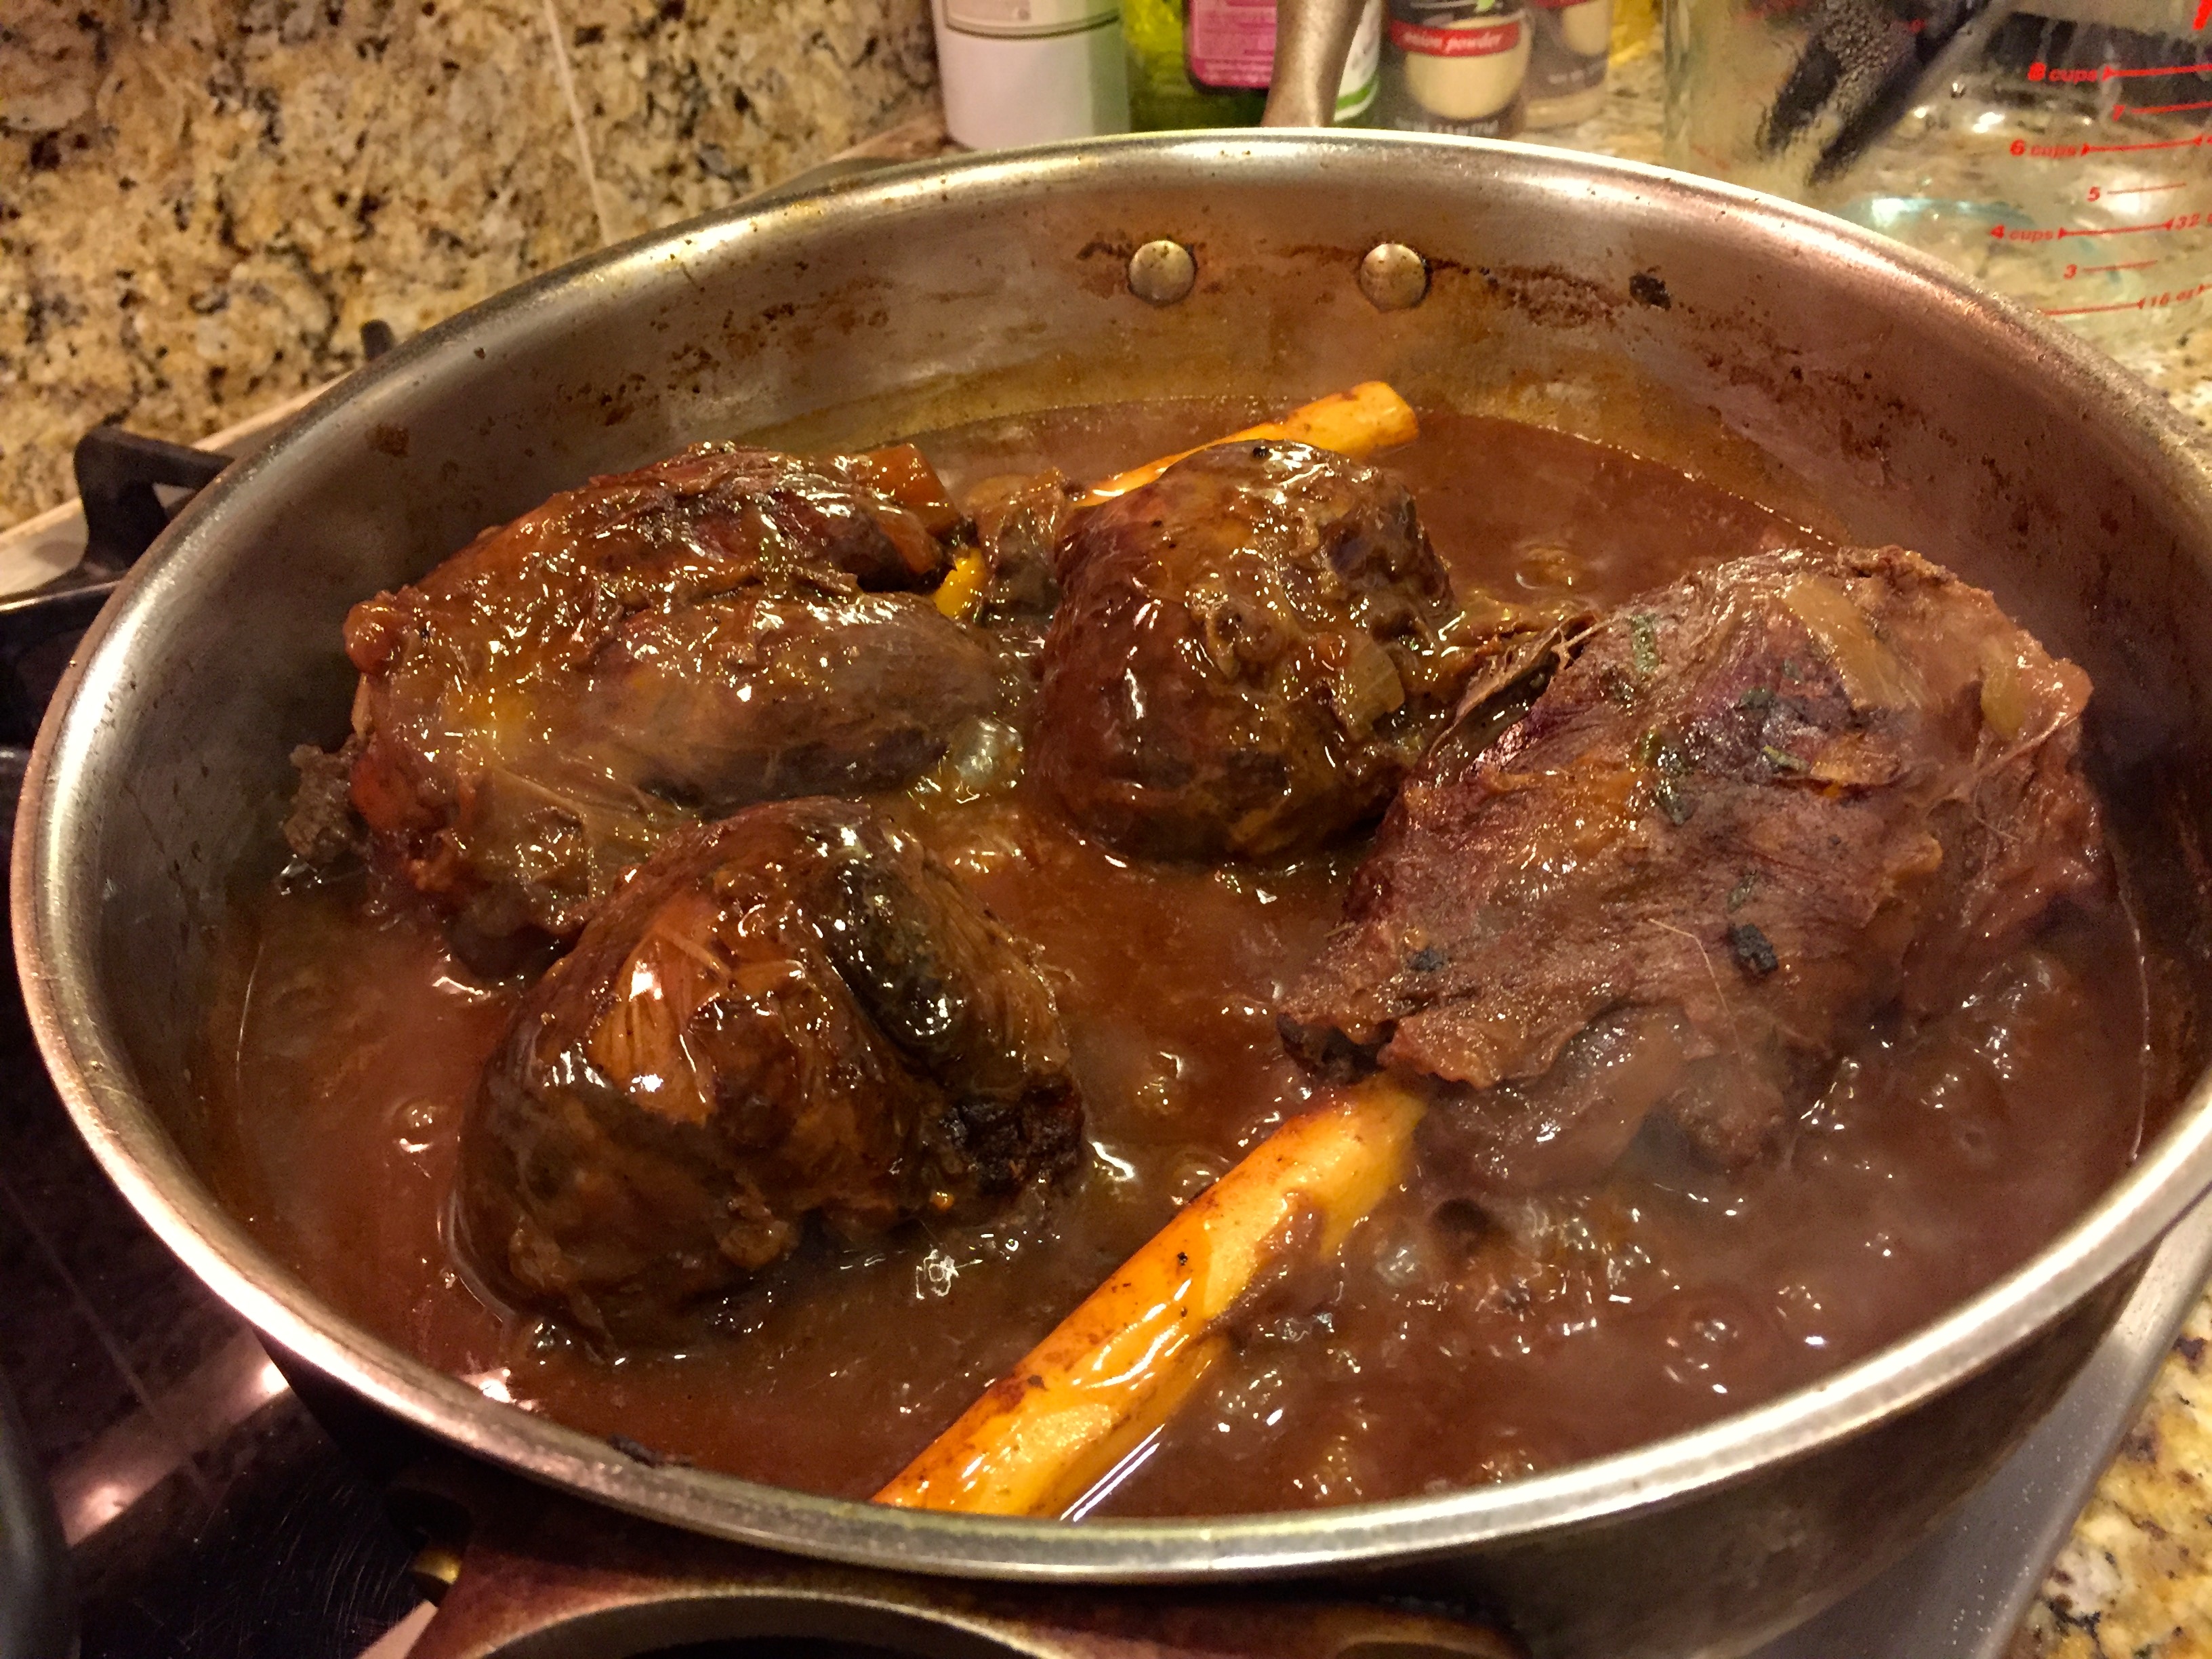
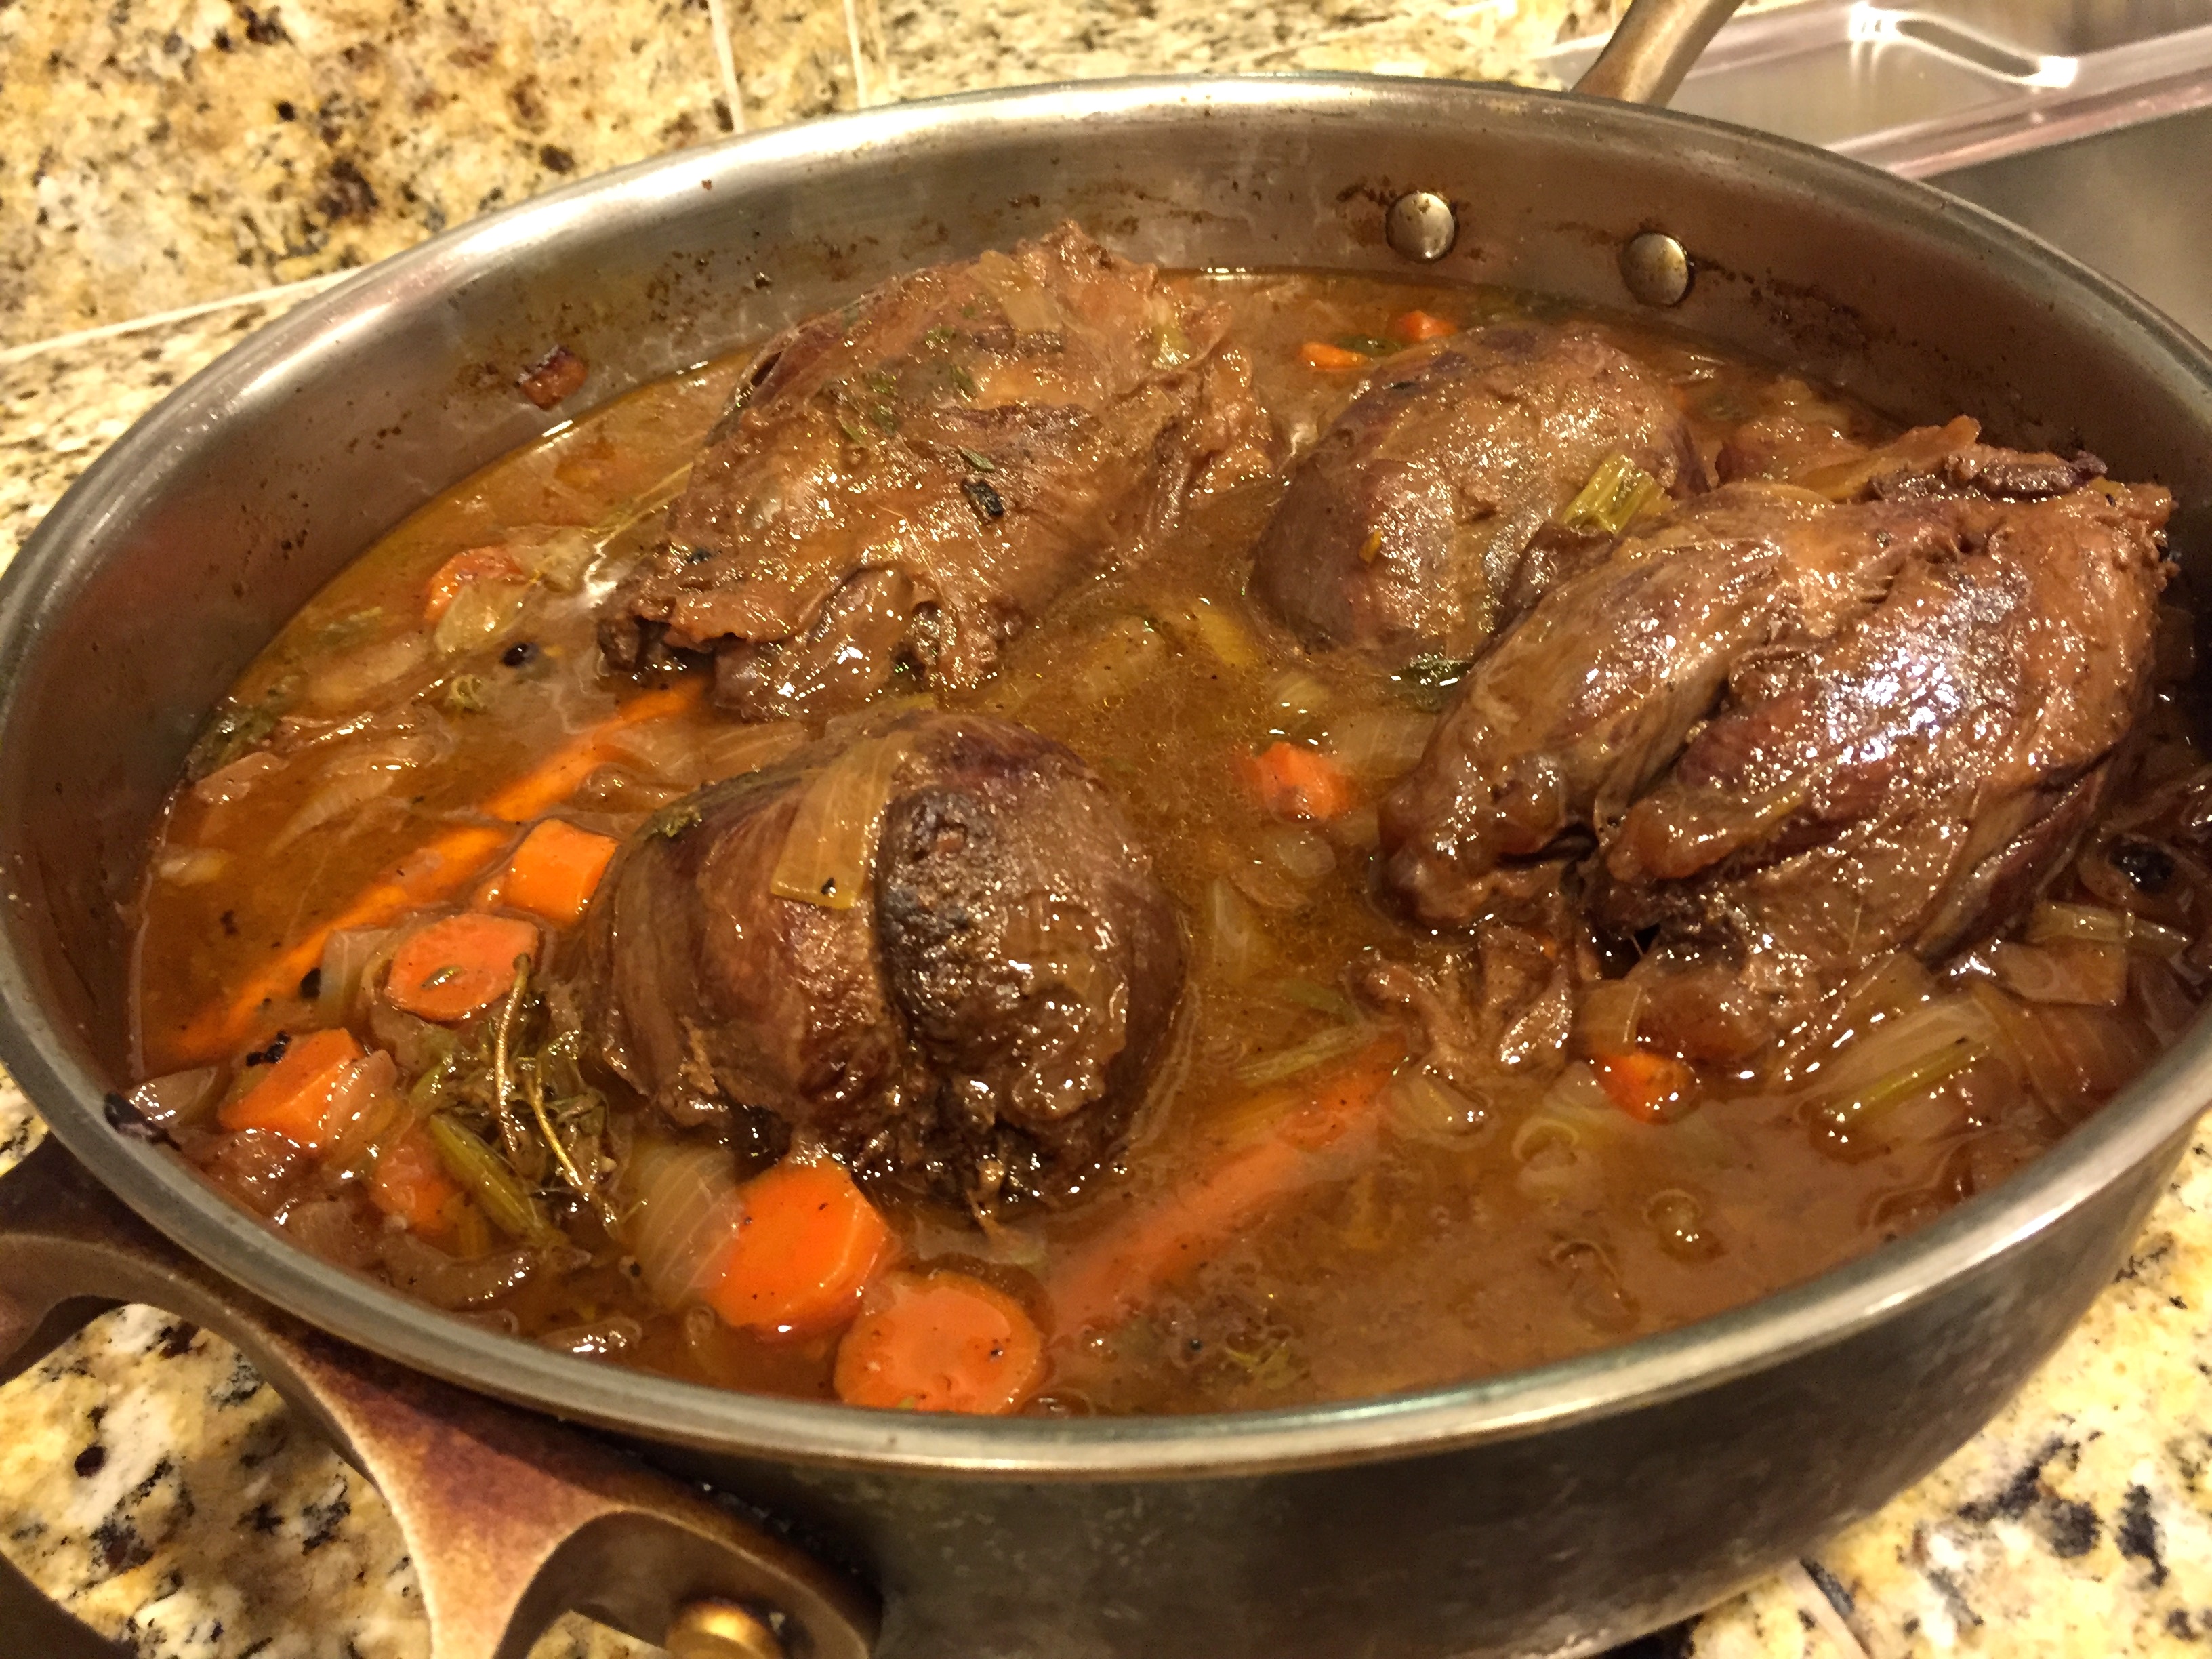
These shanks were cooked at 300ºF for 4 hours.
Once the meat is fork tender, remove them from the pan and set aside.
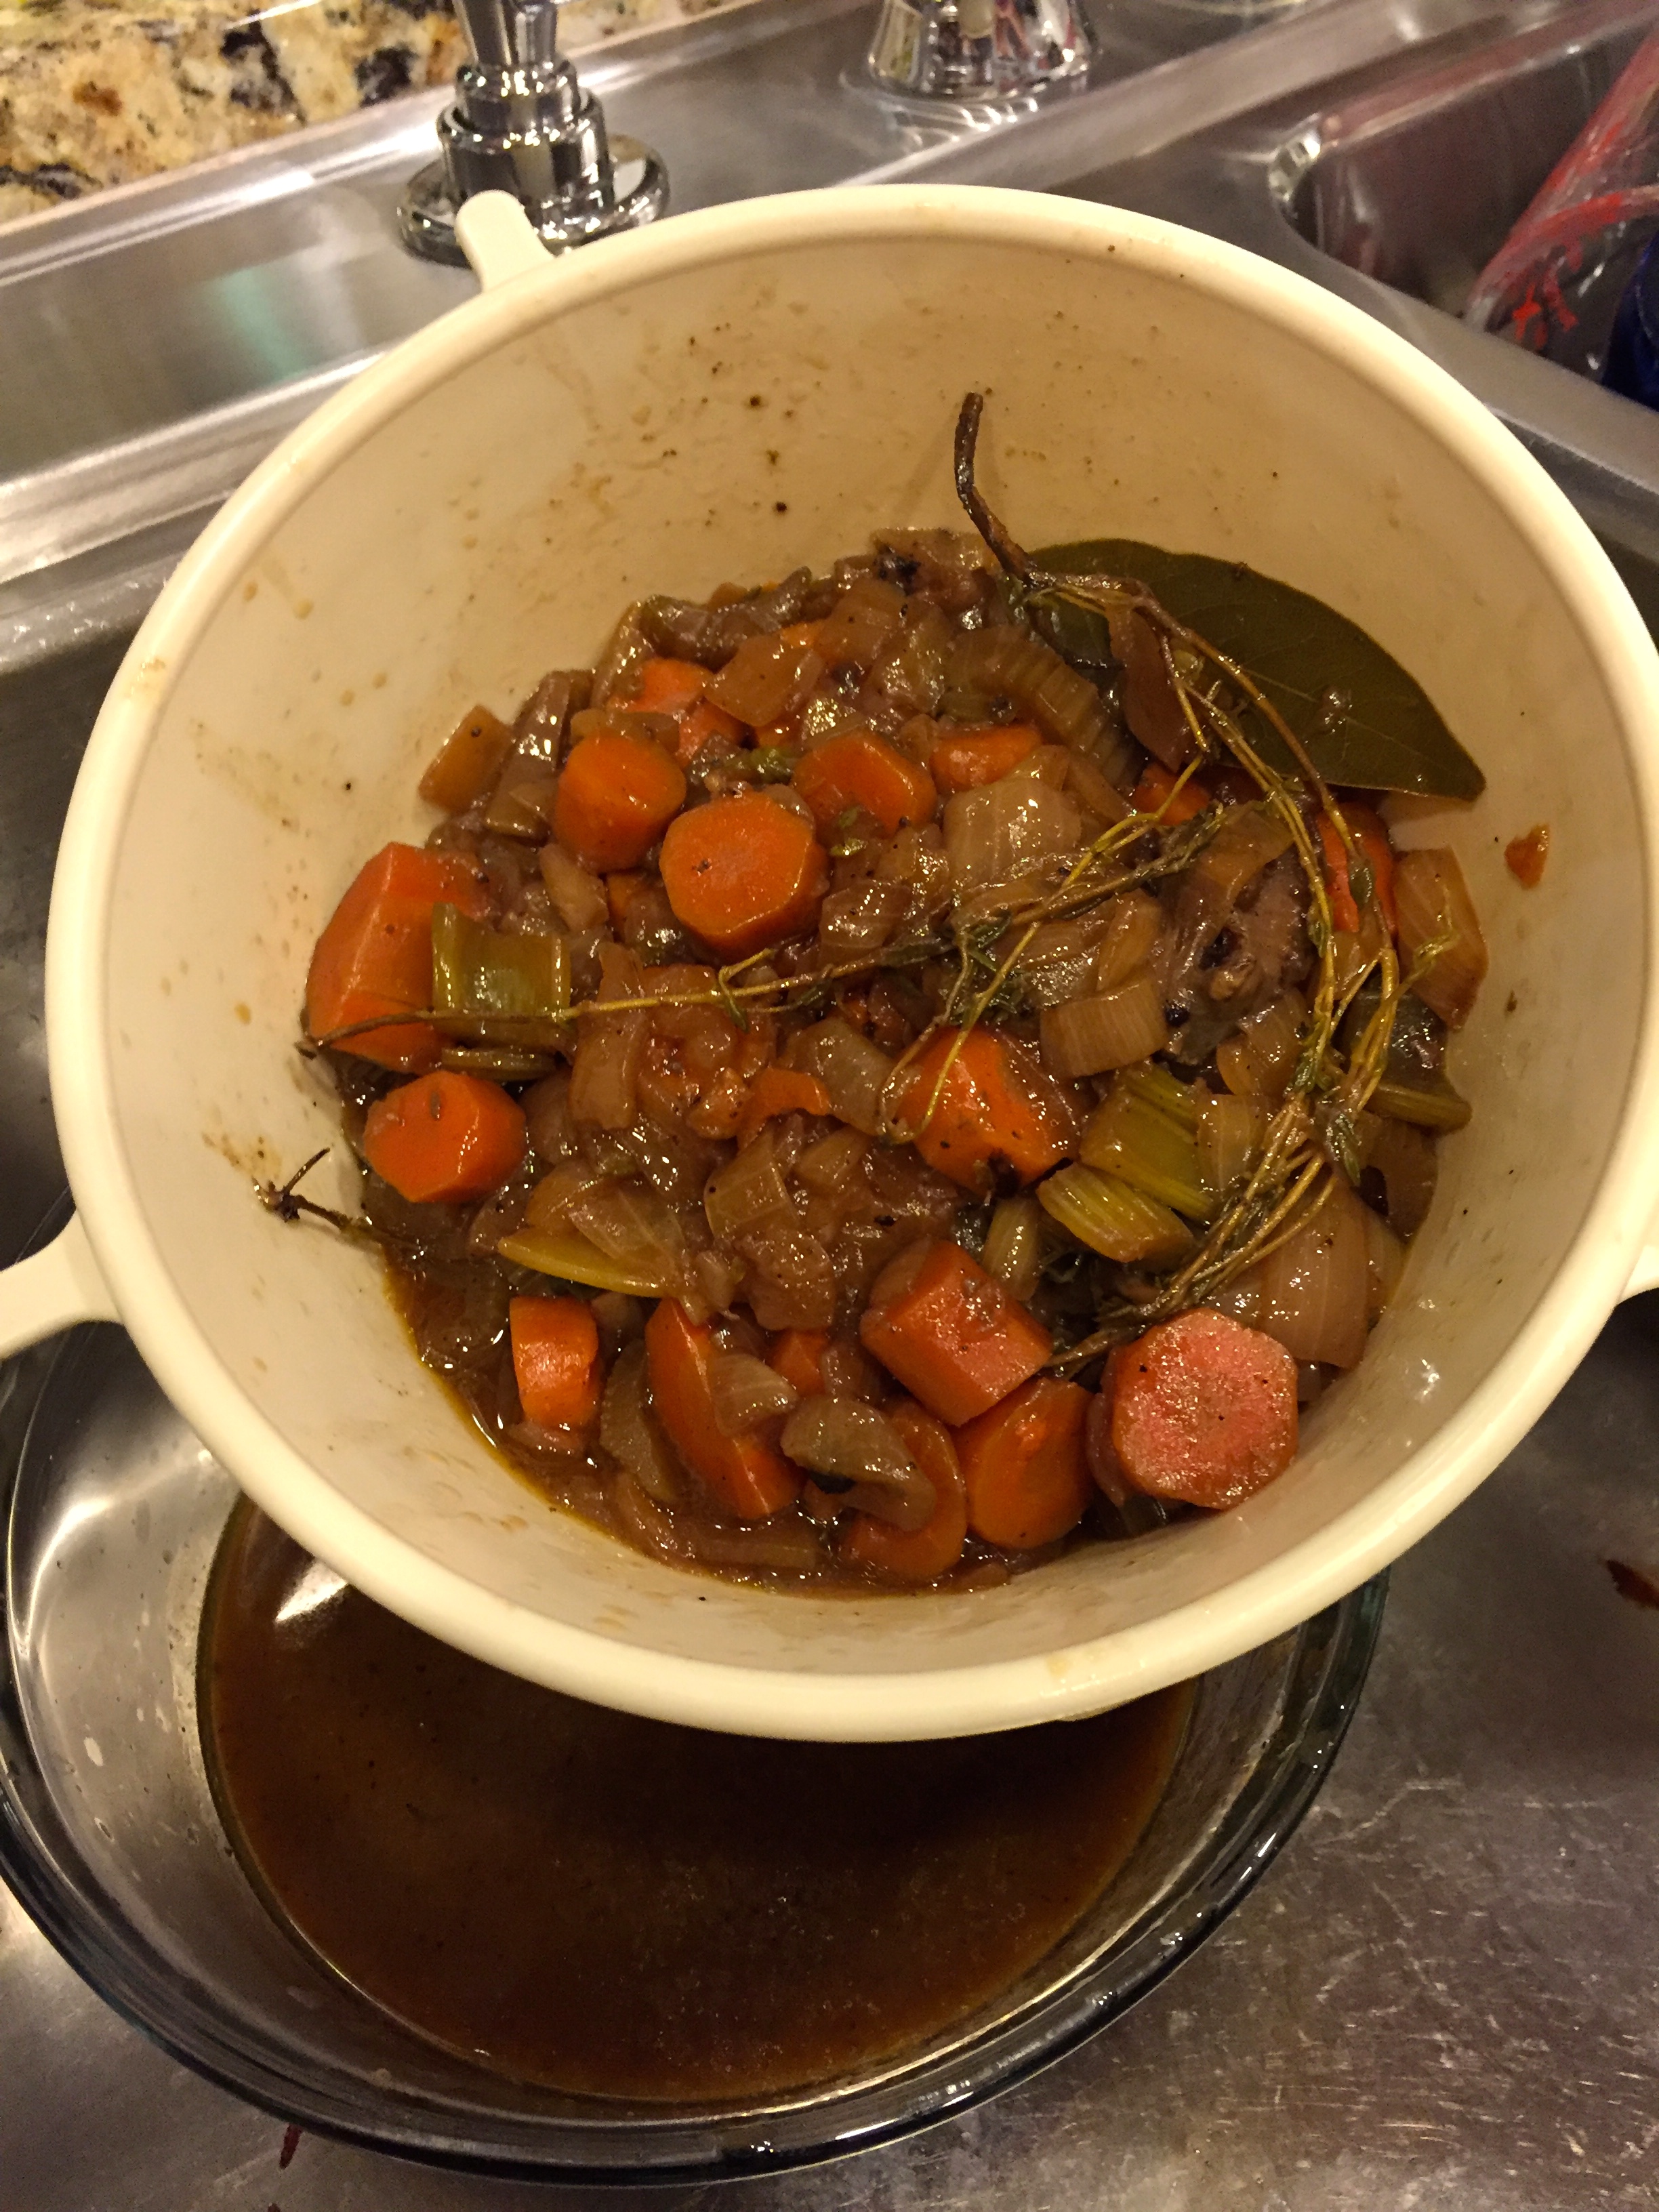
Place a strainer over a pot or bowl and pour the liquid/vegetables and spices into it to separate them.
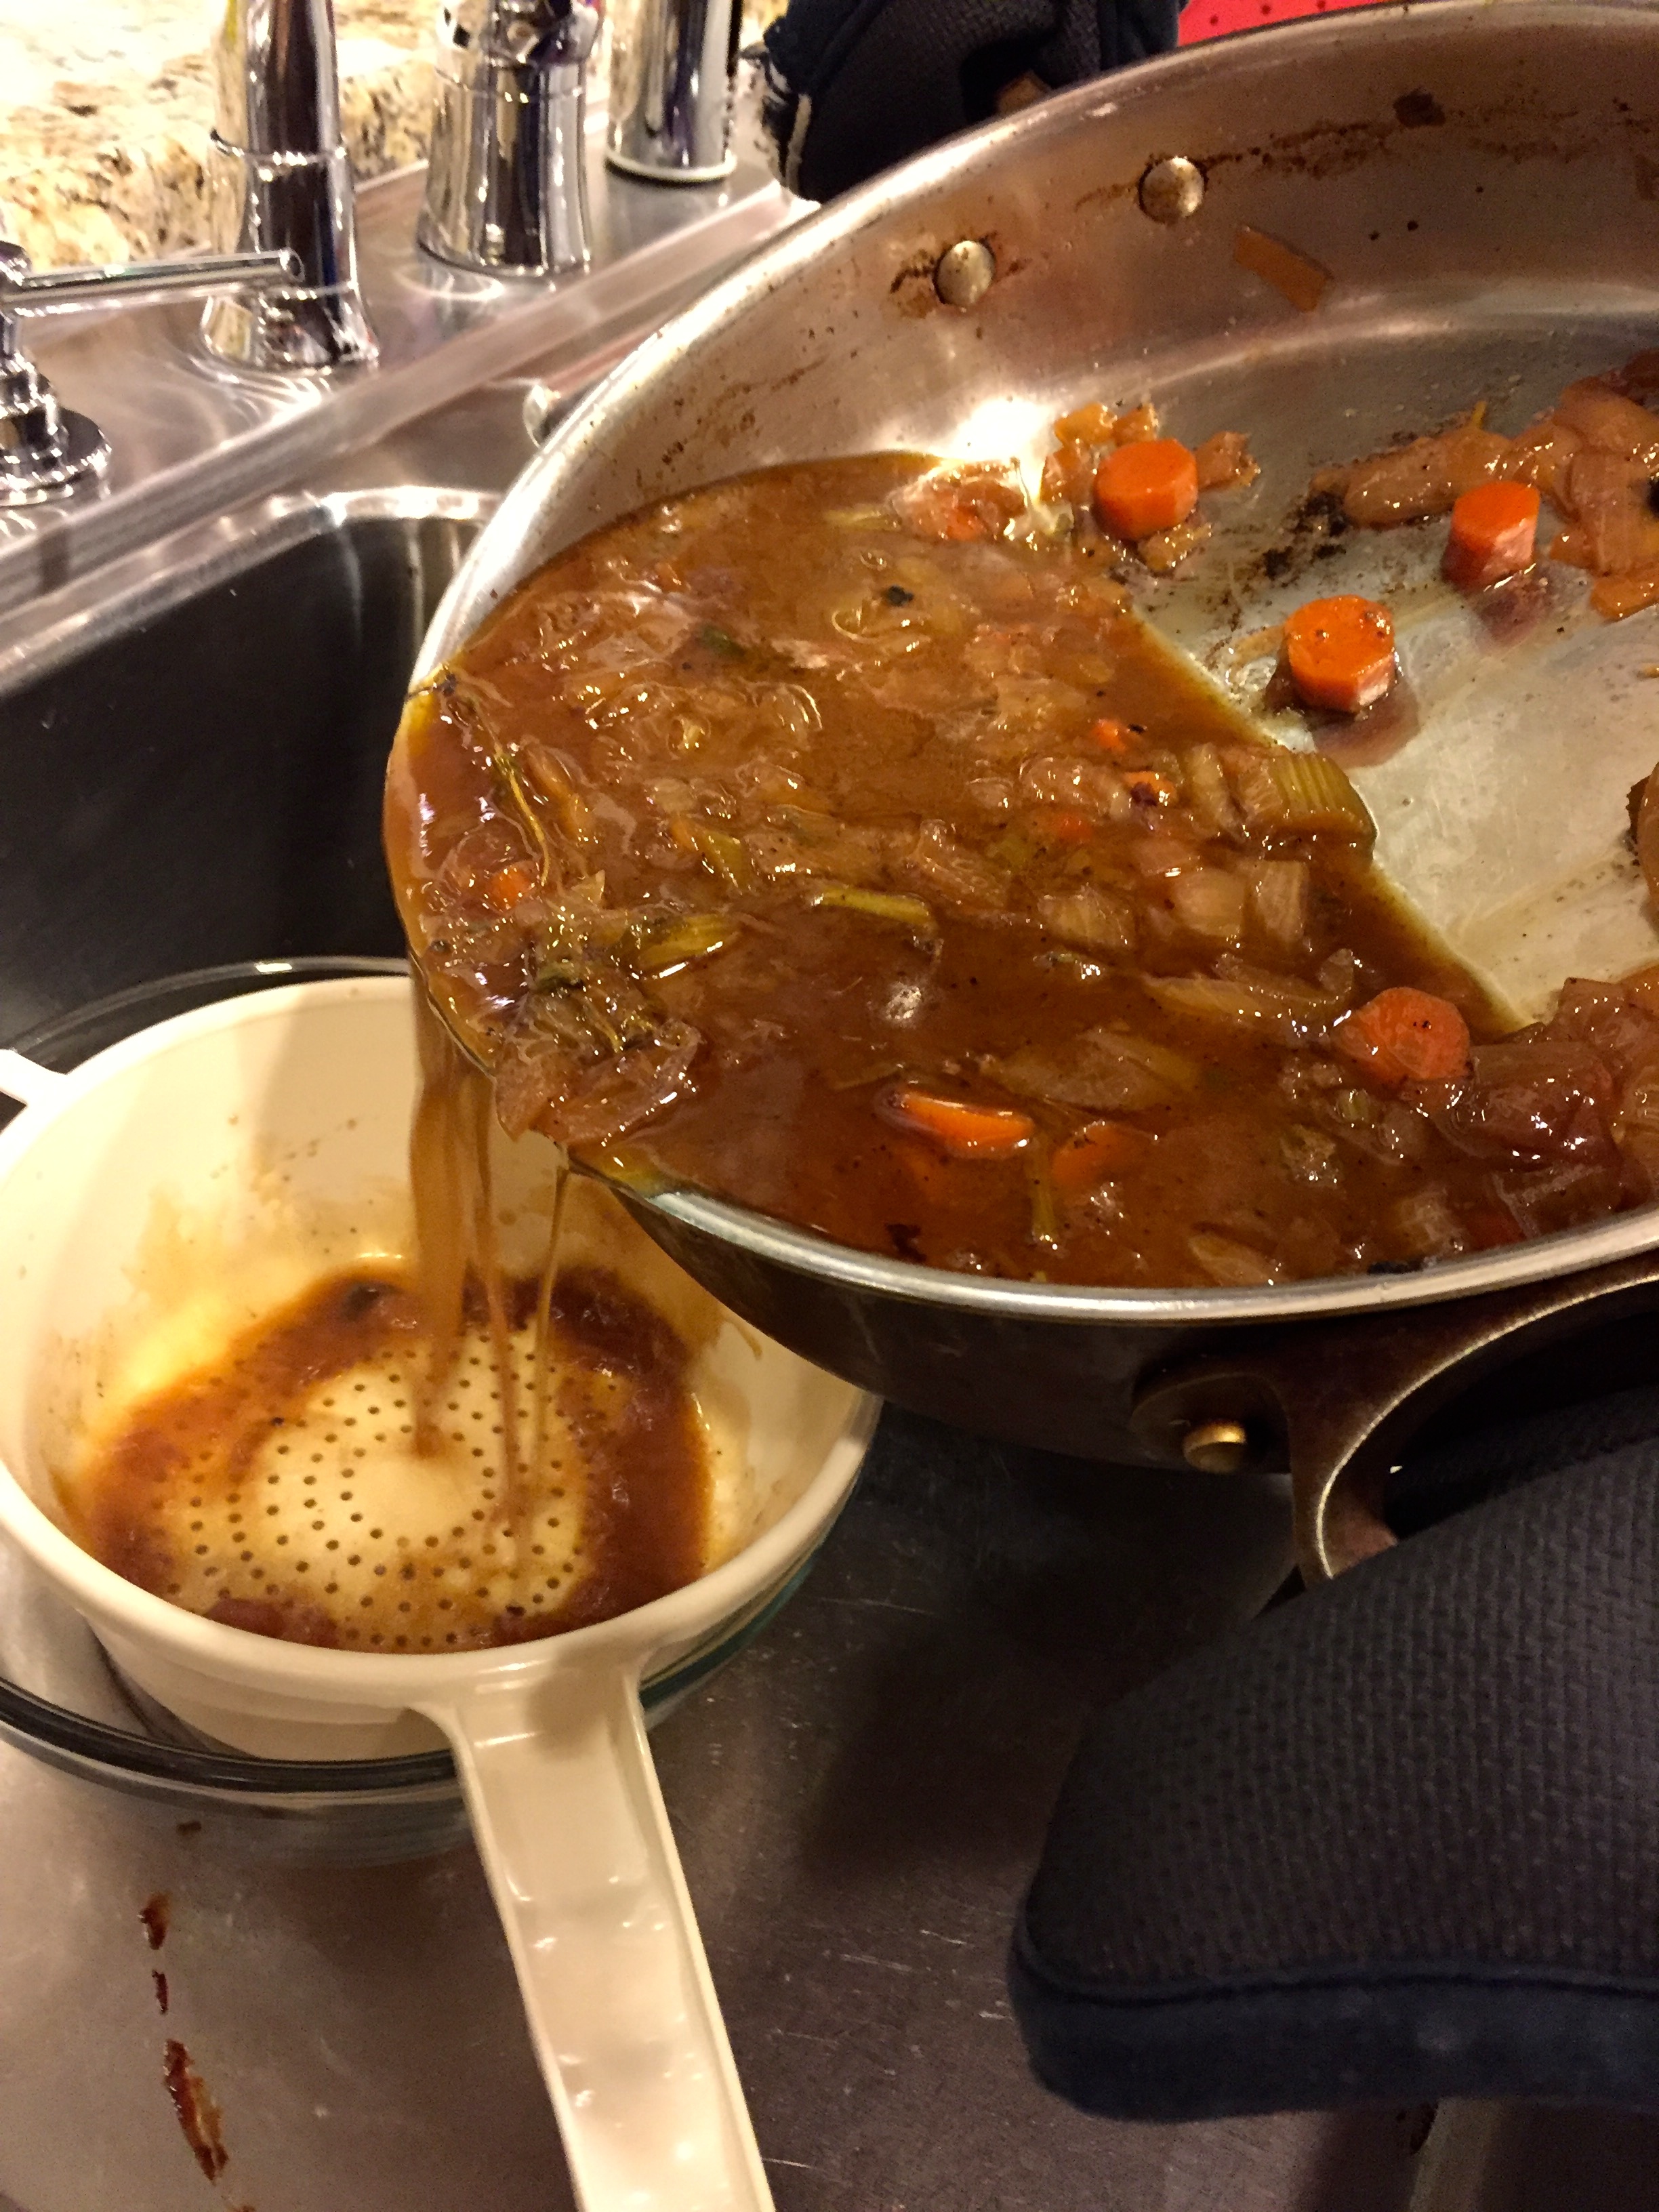
As you can see from photo, the vegetables have gotten kind of mushy and not very pretty in color, so we will discard them. They are really used just to help develop flavor for the sauce.
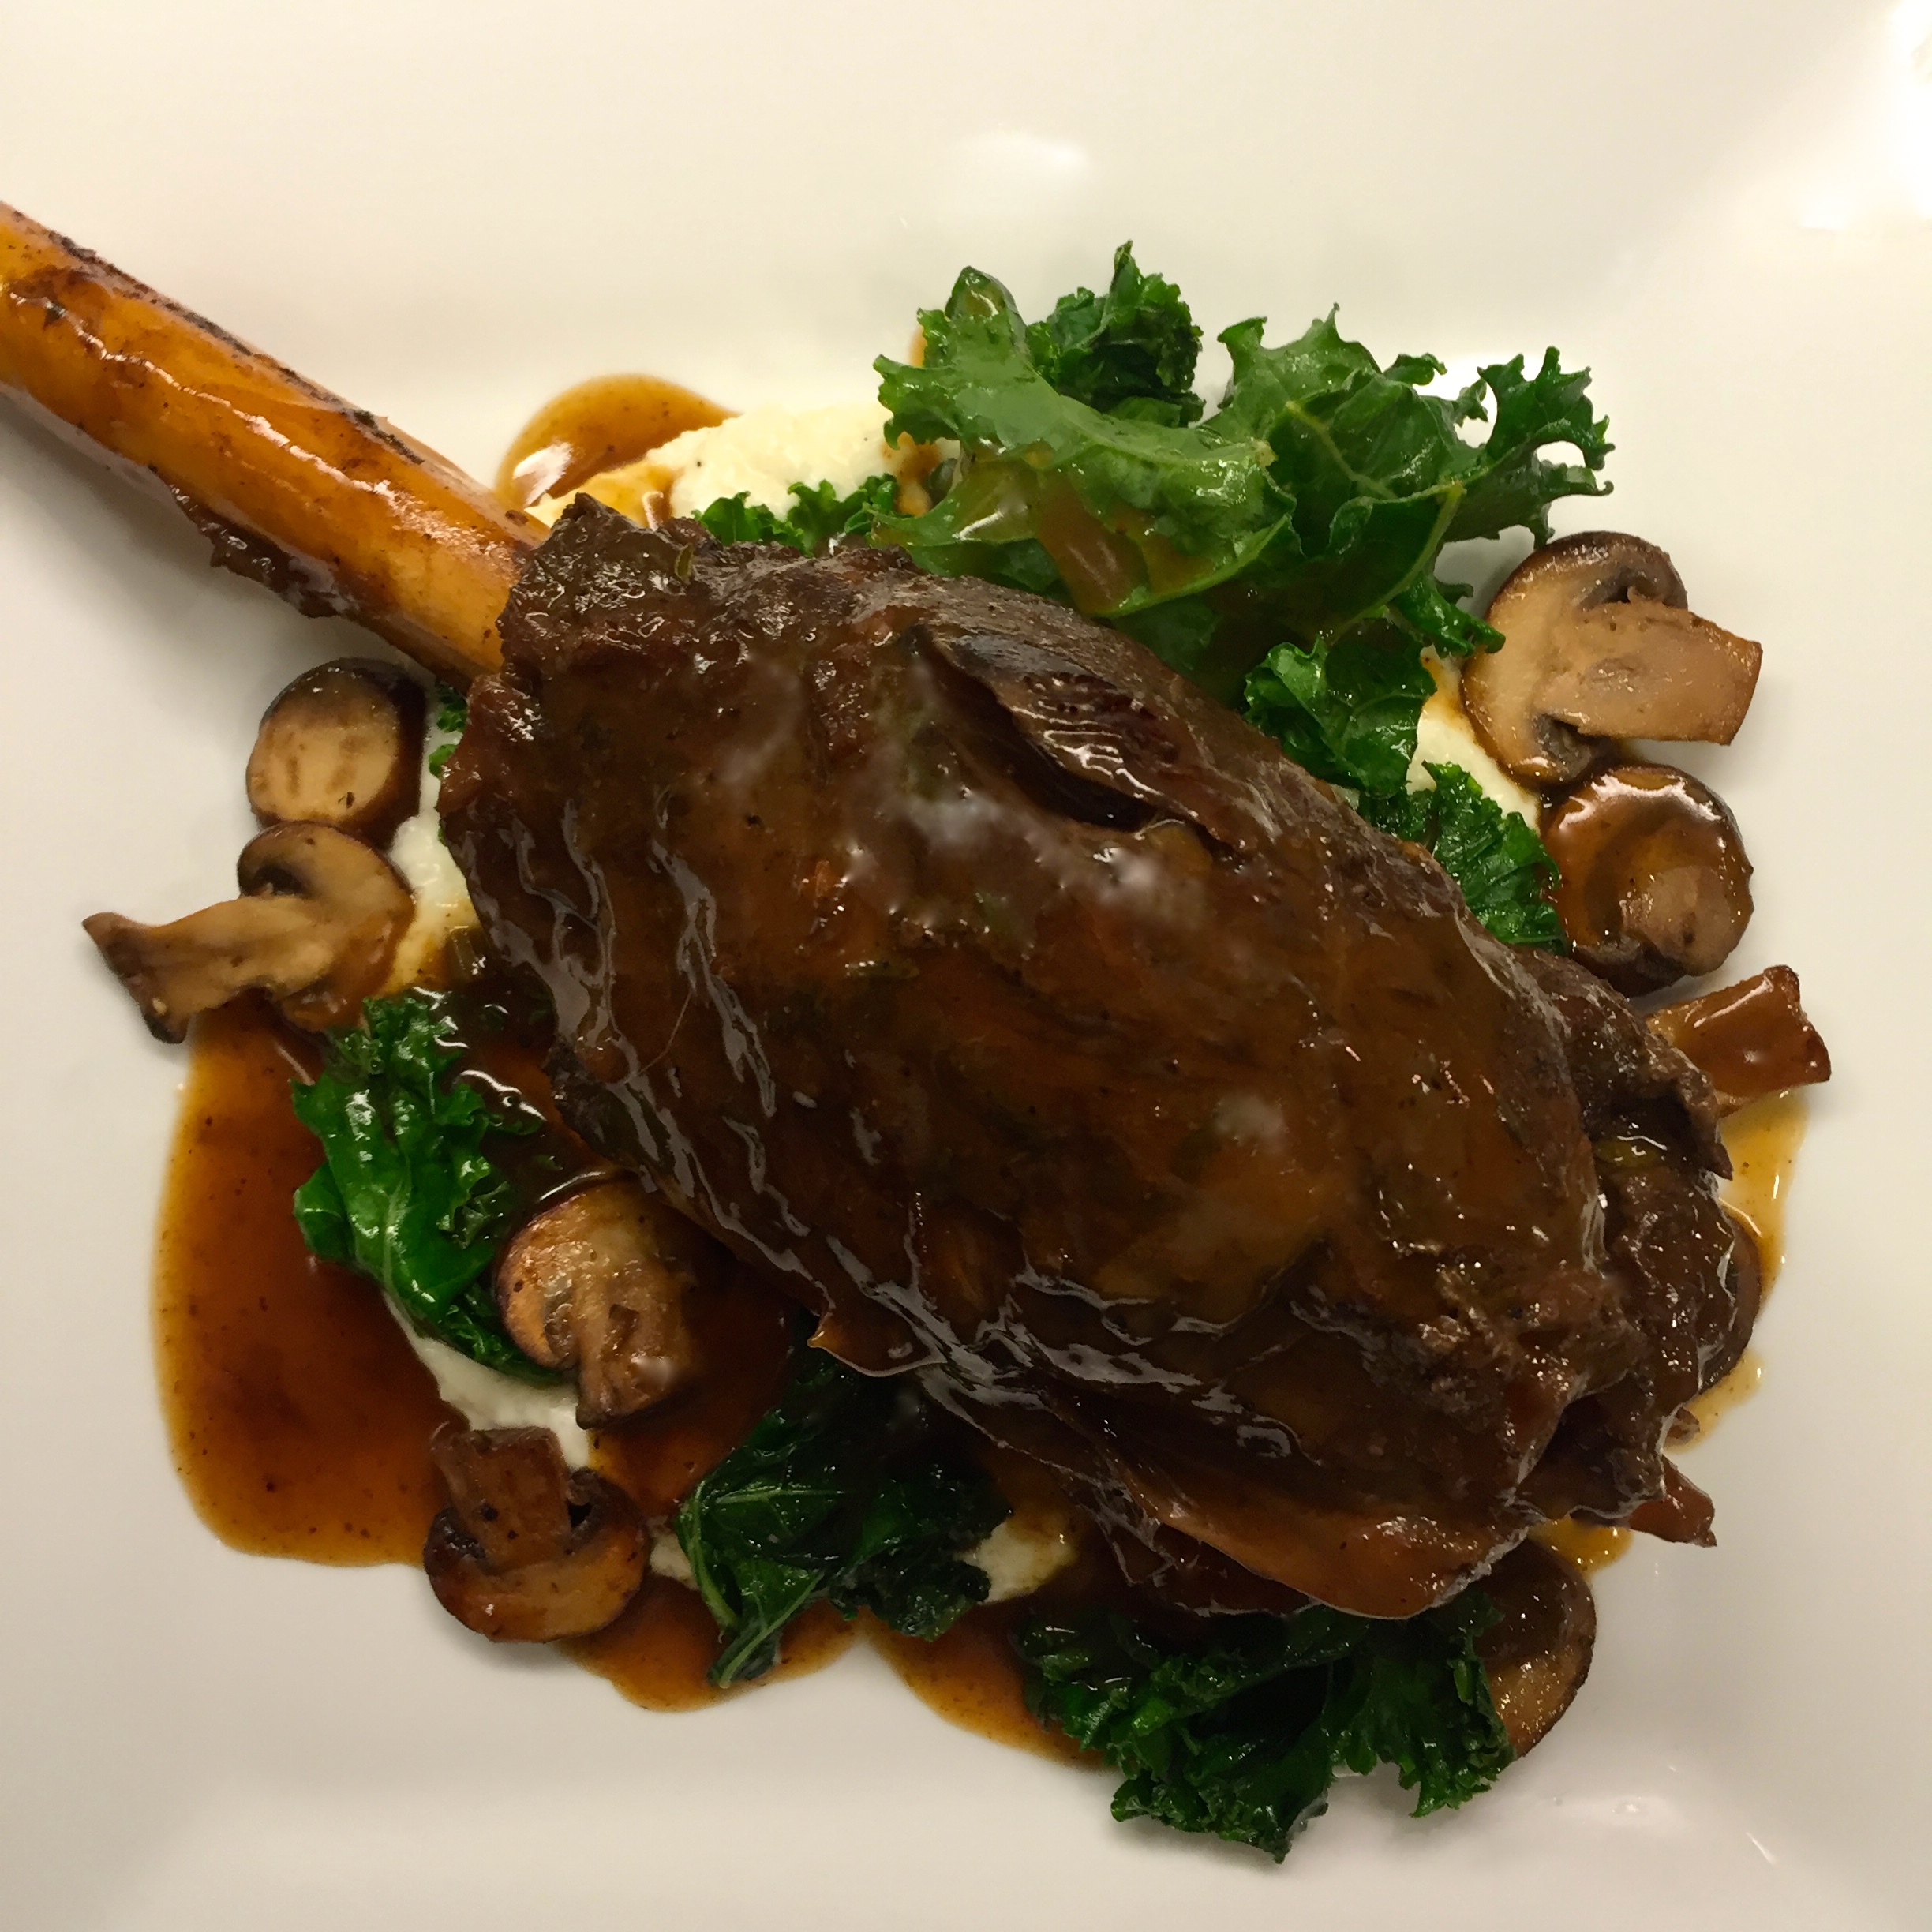
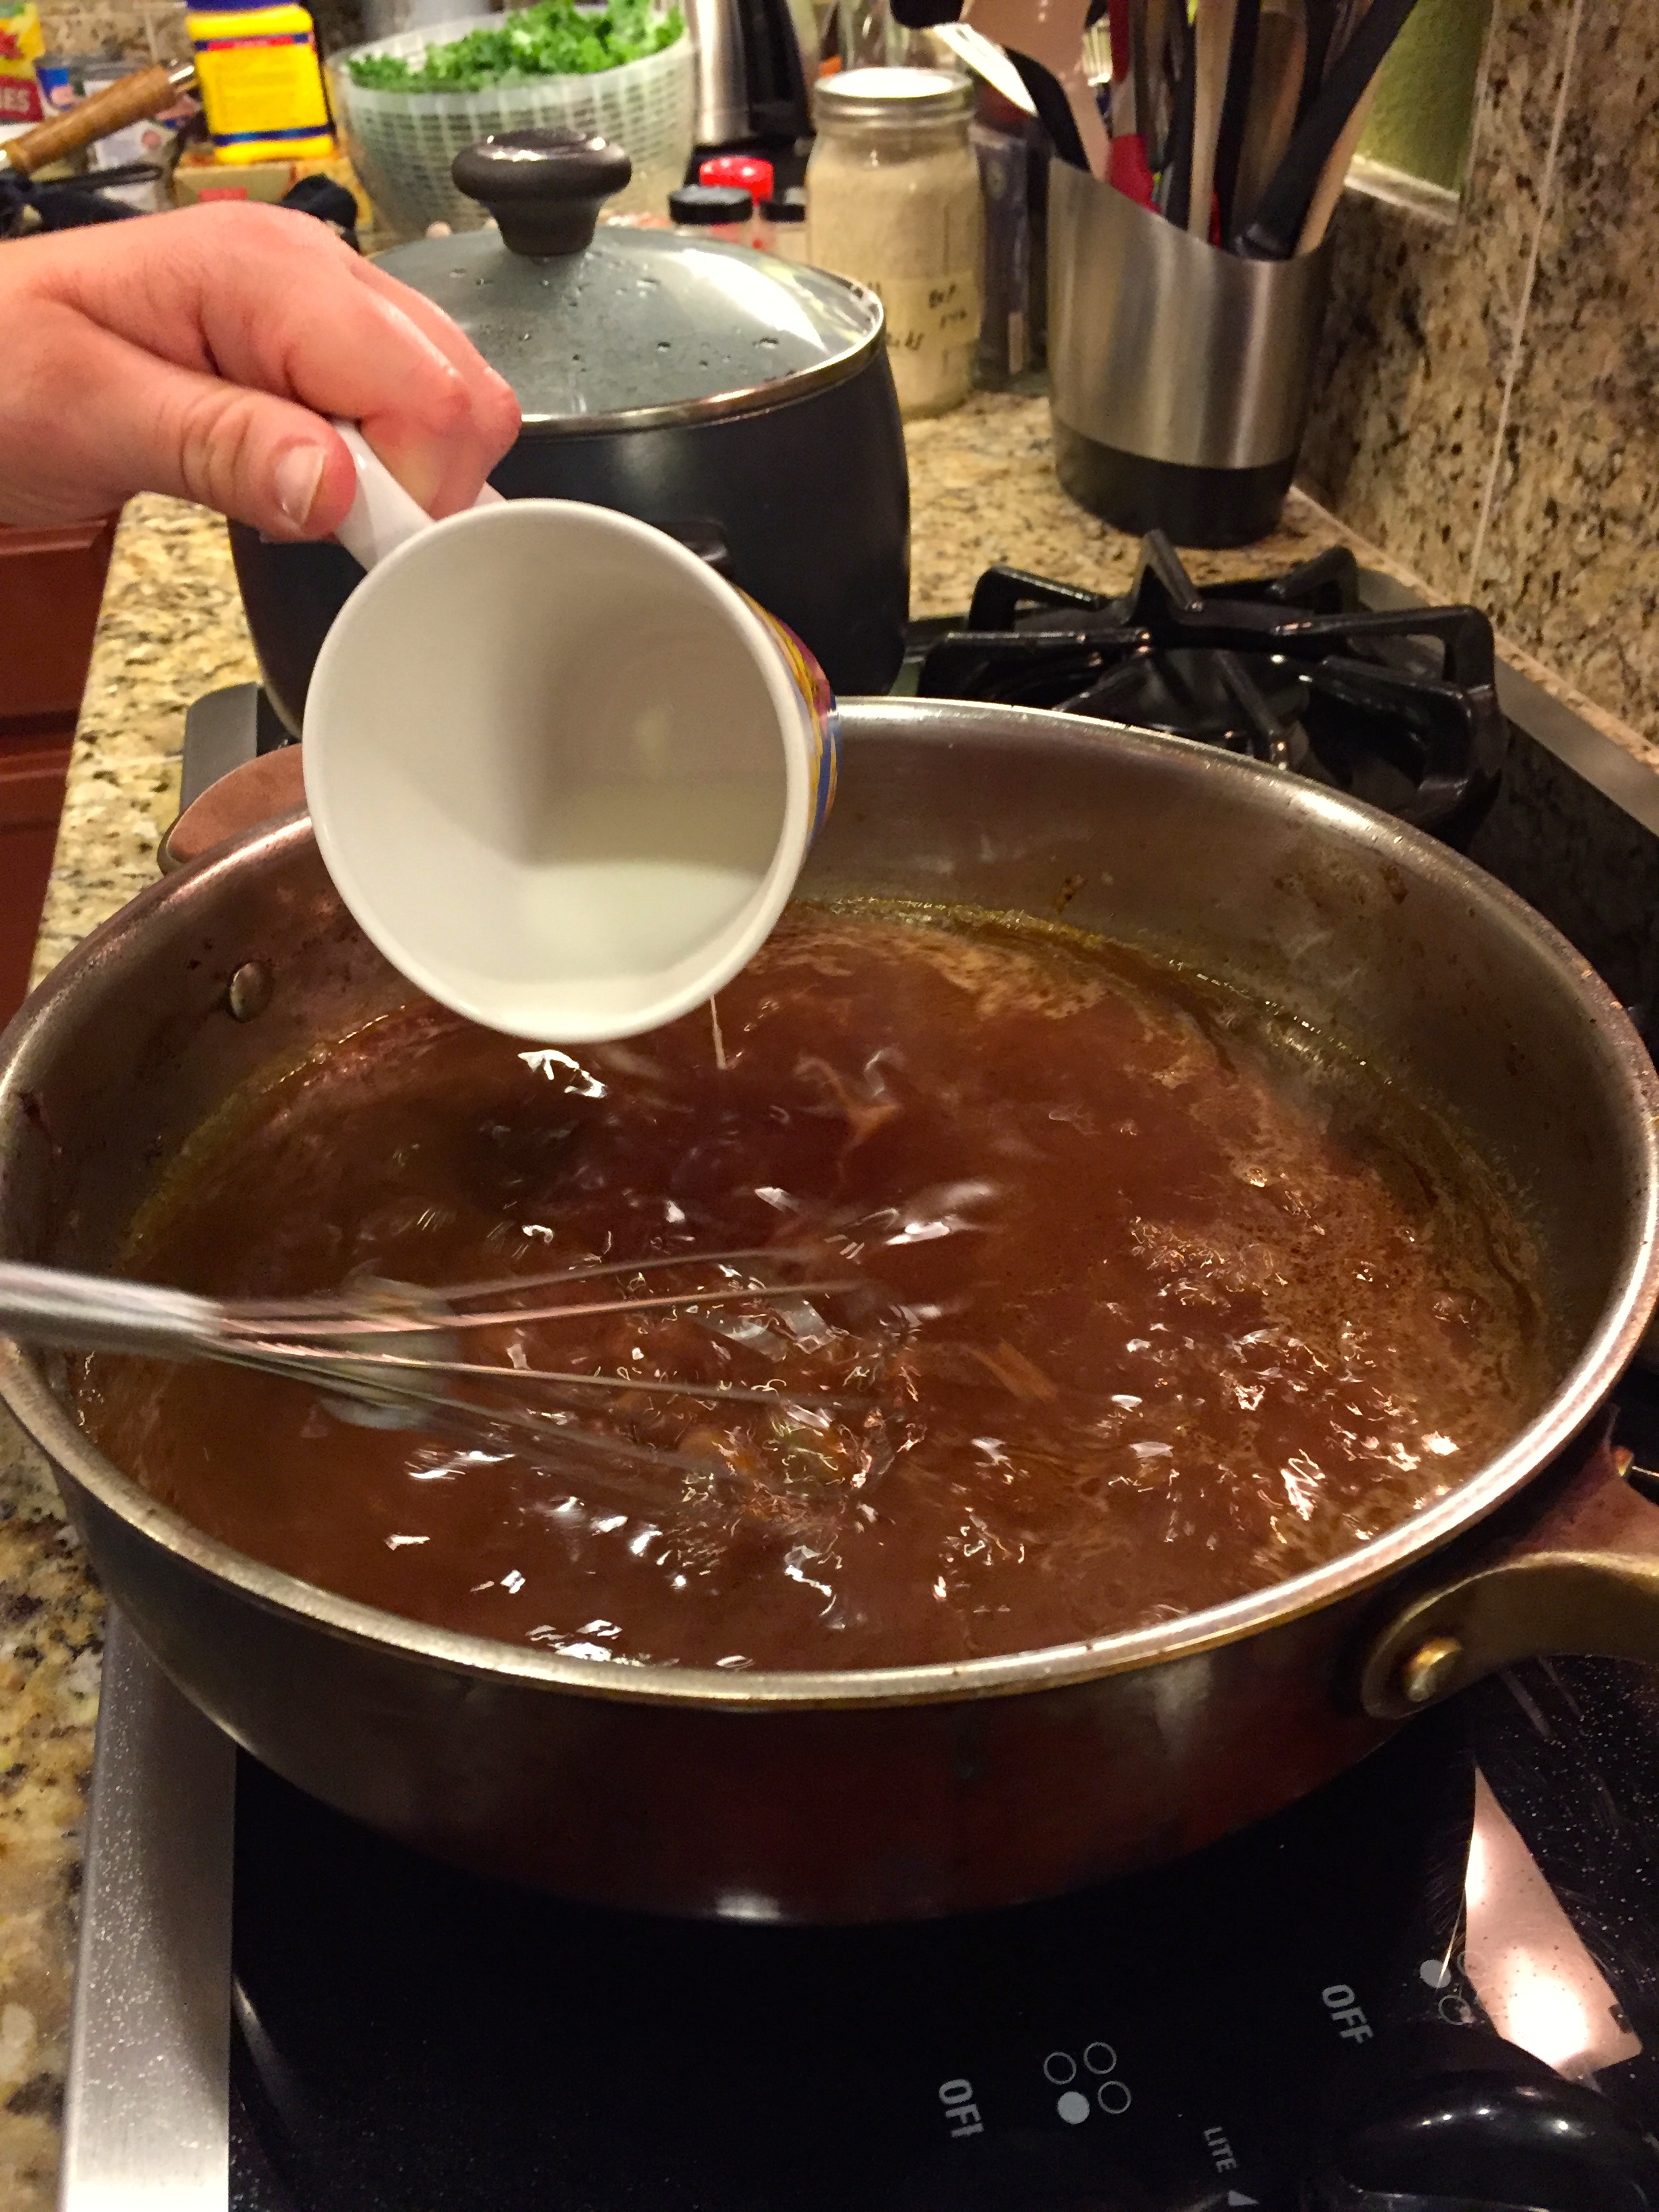
At this point, the sauce can be reduced in a pot on the stove to concentrate flavor OR thickened with a bit of cornstarch.
Add the meat back to the sauce, then refrigerate for 1-2 days for the flavor to develop.
As it’s reheating, I’ll basted the meat from time to time.