
ROASTED VENISON STOCK
Here in the He Hunts She Cooks kitchen, we like to employ “nose to tail” concept. Utilizing as much of the animal as possible, keeps waste to a minimum and creates some awesome dishes! Chefs love those often discarded bits such as offal (organ meats), tail, bones, cheeks, and hooves, for the proteins that are extracted during the cooking process. These proteins such as bone marrow, and gelatin serve a purpose in achieving depth of flavor and as natural thickeners. Another added benefit is one of money savings. In my chef business, I purchase pre-made stocks and demi-glace paste for use in cooking, I can spend a lot of money very quickly for high quality products. One container of venison demi-glace will set me back $50!! And the home cooks don’t fare much better when they are left with flavorless overly-salted canned stock or cubes available in the grocery stores.
So the solution is this: MAKE YOUR OWN STOCKS!!
There is nothing more satisfying than using discarded bones to create stocks for use in your cooking. You’d be throwing them away anyway, so why not spend a bit of time to make your own. And besides, you get bragging rights learning a technique taught in chef school. Culinary students spend a lot of money and a whole semester learning how to prepare stocks/sauces, and brown stock is one of the first they learn to make.
Usually, the stock is simmered on the stove for hours, or days to concentrate it, but I’m going to teach you my method. I find this easier and creates a richer flavor with less “babysitting”.
Bones from any animal can be used to create stocks. So whether you have venison bones, bird bones, rabbit bones, wild pig bones… the process is the same. Once you learn the technique, you’ll never buy another pack of bouillon cubes again!
If you combine pressure canning after creating the stock, you’ll also have a long shelf life for your stocks too.
I’ve also created this video to help you learn this process: 
So let’s get started!
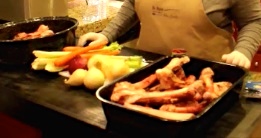
First you have to gather which animal bones you need. I’ve saved the bones from one white tail and one black tail deer. I ended up with about eleven pounds of bones, but if your’e using small game animals, you’ll obviously have less weight. Since the bone to water ratio is 3 pounds bone/2 pounds water, it’s simple to adjust the amount of water needed for the pounds of bones from any animal, so the concentration is the same. So if you have 3 pounds bones— weigh 2 pounds water (water weighs about 8 pounds/gallon or 2 pounds/quart).
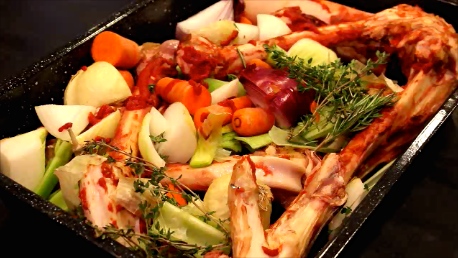
Place the bones in a large roasting pan. For that “umami” flavor, I rub a can of tomato paste over the bones.
Then I add my vegetables and aromatics. The natural sugars in the vegetables are intensified during the roasting process.
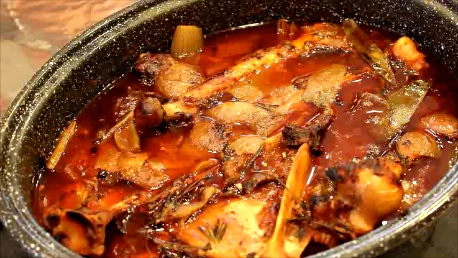
Place the roasting pan in a 400º oven to roast, and the bones will begin to break down it’s yummy marrow!!
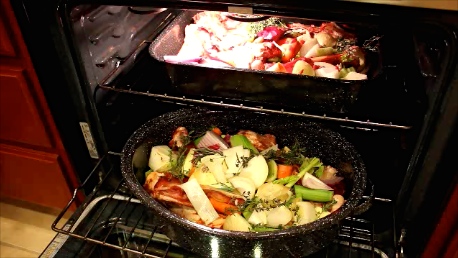
Once the bones and vegetables are roasted, more seasonings and water is added and then placed back in the oven for 8-10 hours. This is when you can get on to other things and not need to babysit the stock. I prefer to put it in the oven, overnight and just finish the next day. It’s great to get a good nights’ sleep.
After the bones are cool enough to handle, I remove the large bones and pieces of vegetables and discard them (or feed them to the dogs if you like).
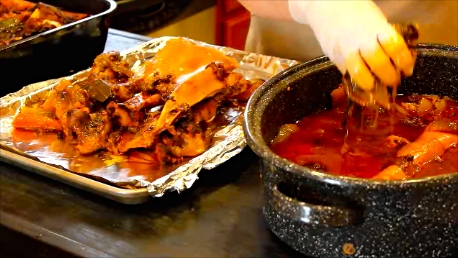
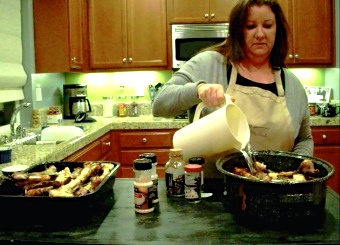
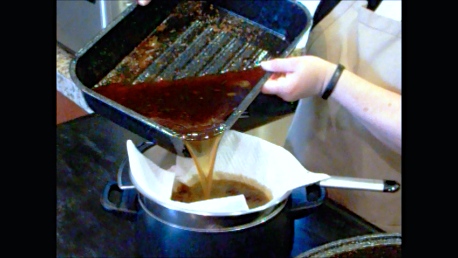
I strain the stock of all the small bits. If you like, you may stop here in the process, and skip to storing the stock, BUT I actually continue a bit further.
After it’s strained, I add wine and place the whole pot on the stove over a medium simmer to reduce a bit further (about 2 hours). The wine really adds that something extra!! If I’m using red meat, wild pig or hare I use red wine (Cabernet), If I’m using birds, fish, or cotton tail, I’ll use white wine (Chardonnay).

Now you can also stop here in the process if you like, OR if you want to create demi-glace, you’ll go a bit further by making an “espagnole” (a thickener), then reducing several more hours. But I’ll show you how to make espagnole another time.
The stock can be frozen, or canned for a longer shelf life using a pressure canner. **I canned mine in small jelly jars (8 ounce = 1 cup) for 25 minutes at 11 pounds pressure.
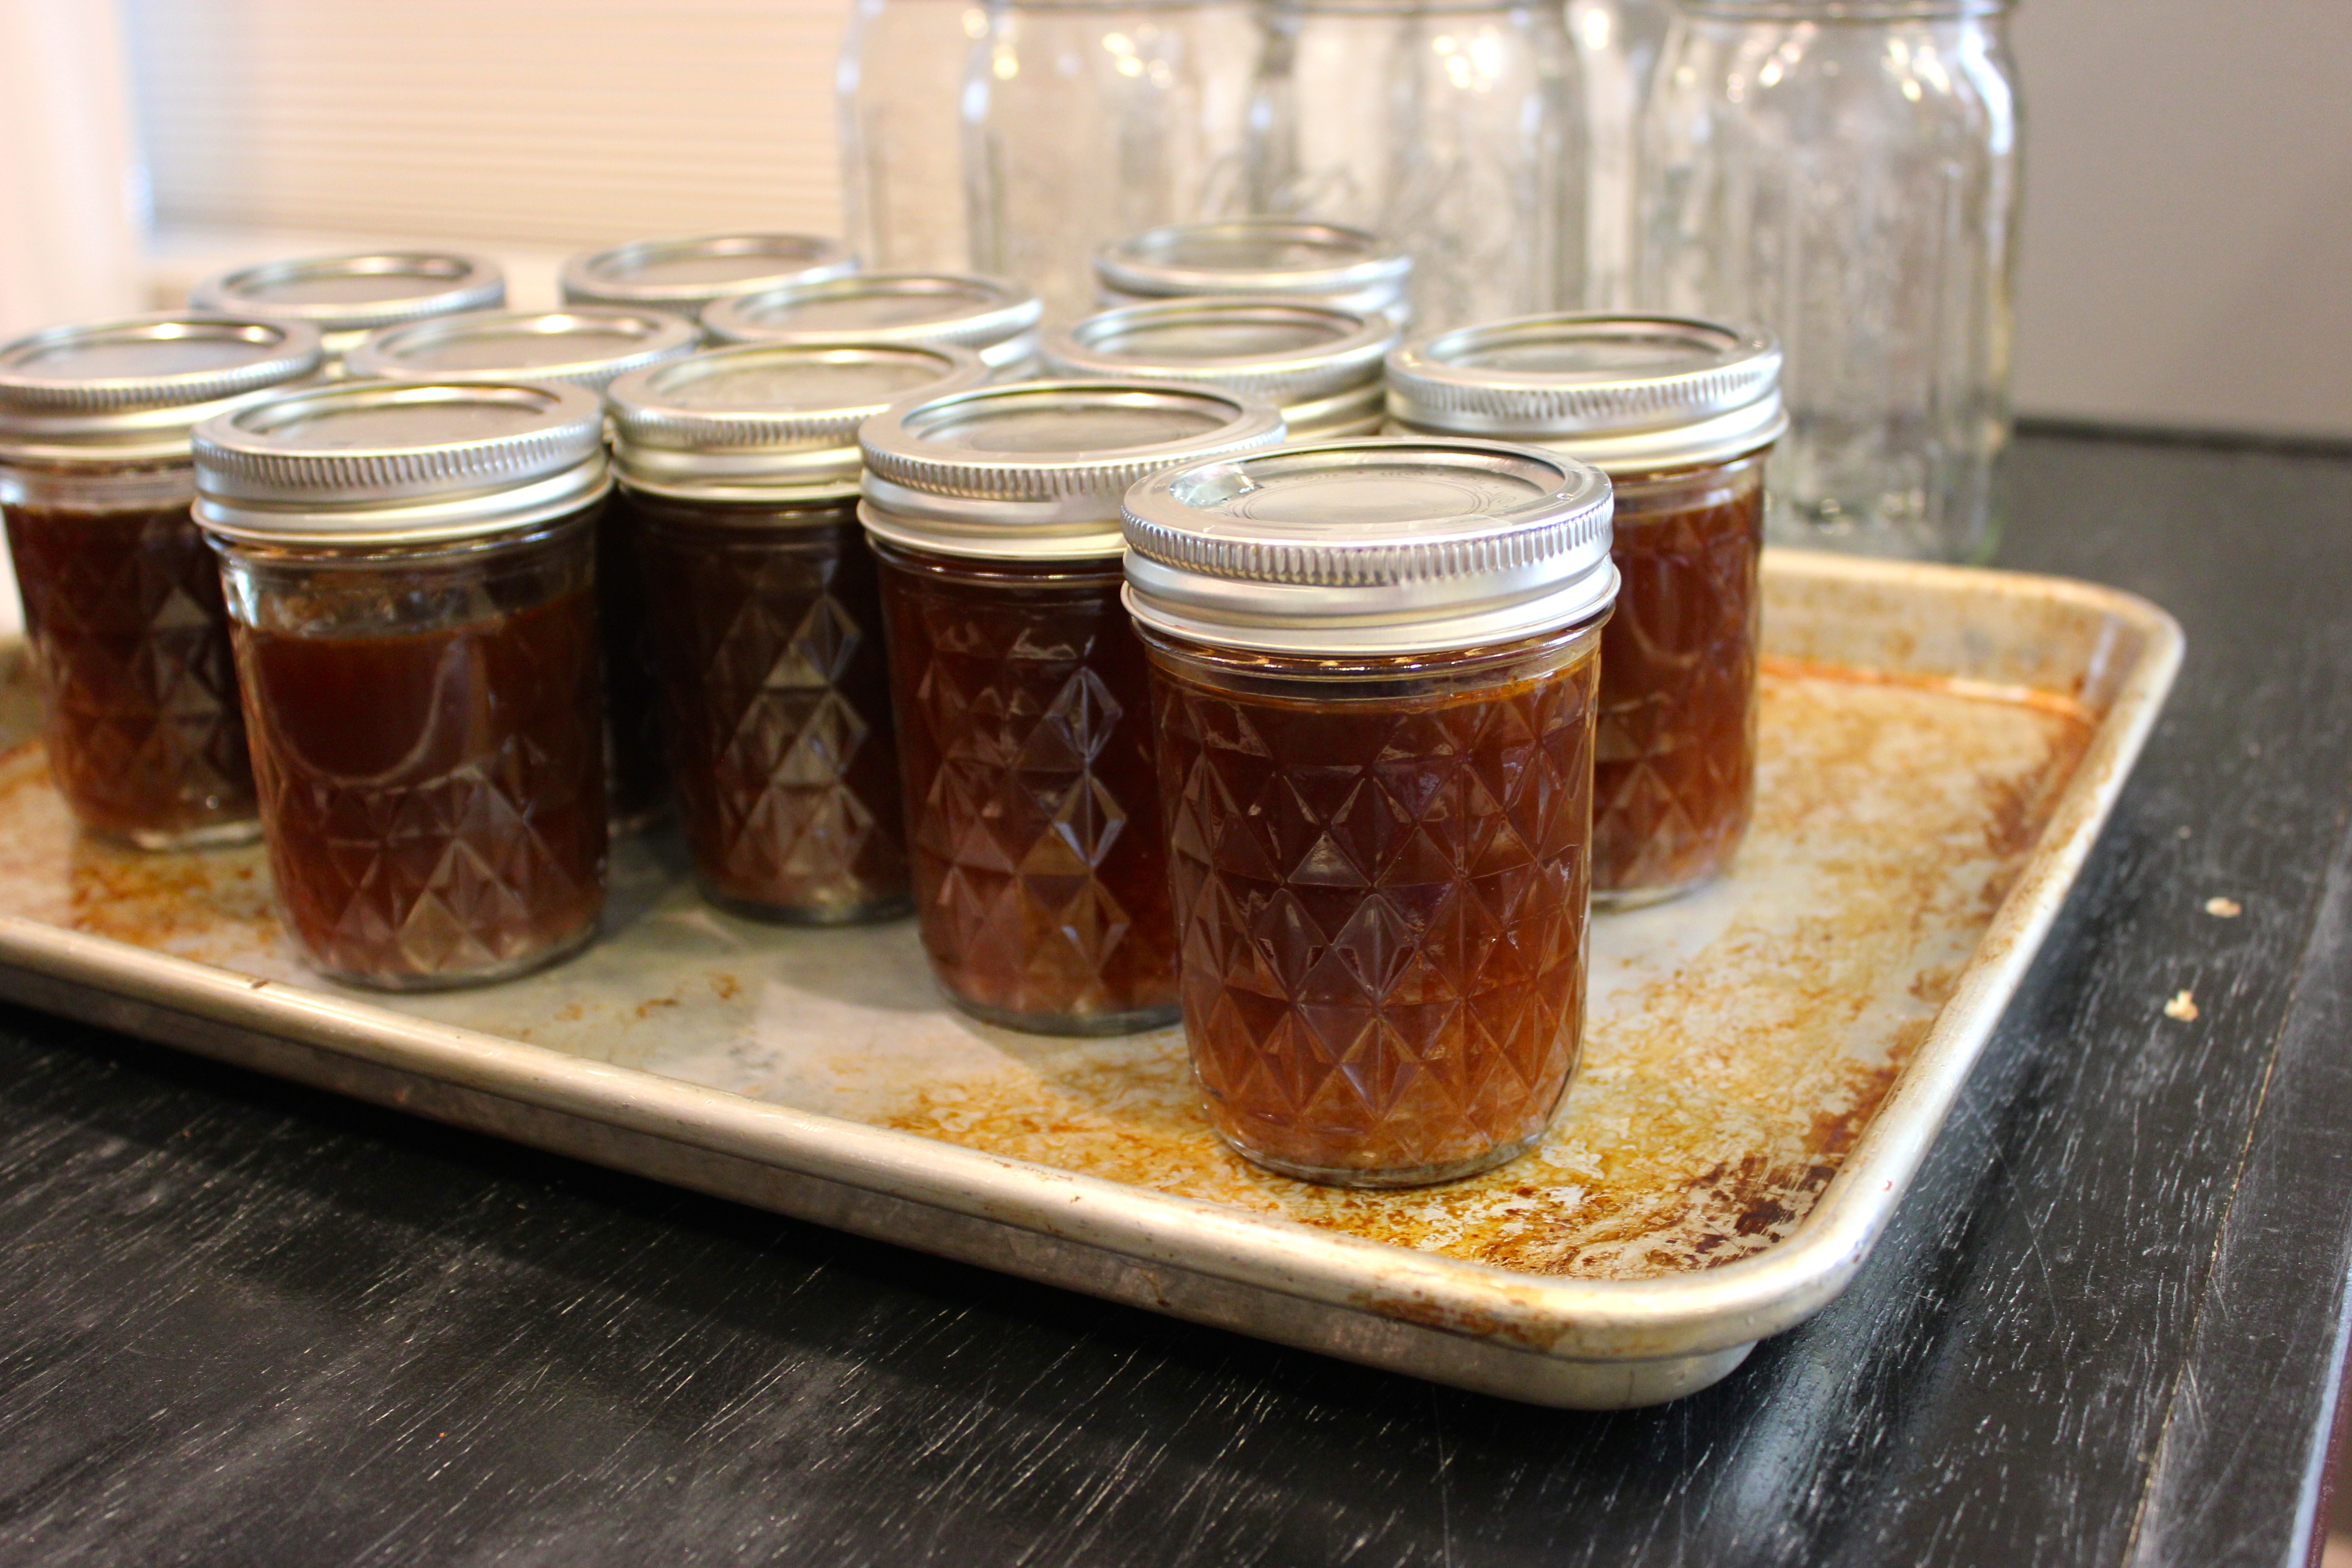
And now you’ve got deep rich flavorful venison stock to use as a base for soups/stews and sauces!!!

- 8 pounds White Tail and Black Tail Bones, include lots of shank bones (substitute any other venison bones, wild pig bones, antelope, or mountain sheep/goat, depending on which type of roasted stock you want to make)
- 1 can Tomato Paste
- 2 Onions
- 2 Carrots
- 2 Celery Stalks
- 1 Leek
- 1 stem Fresh Rosemary
- 6 sprigs Fresh Thyme
- 2.5 quarts Water
- 2 tbs. Kosher Salt
- 2 tbs. minced Garlic
- 1 tbs. Garlic Powder
- 1 tbs. Onion Powder
- 1 tbs. Black Peppercorns
- 10 Juniper Berries
- 2 Bay Leaves
- 2 cups Cabernet Sauvignon
- Pre-Heat the oven to 400ºF/204ºC.
- Place venison bones in a large roasting pan.
- Add the tomato paste and rub the bones with the tomato paste, until they are coated.
- Roughly chop all vegetables, and leave the skins on the onions (no need to peel them), and add to the roaster.
- Add the rosemary and thyme.
- Place the roaster in the oven for about 45 minutes.
- Check on the bones and vegetables, and make sure they don’t burn.
- If they are browning too quickly, turn down the heat to 375ºF/190ºC and roast for a bit longer.
- The key is to allow the bones and vegetables to develop a deep brown color, without burning, (if they burn, the stock will become bitter and is not usable).
- Once the bones and vegetables have browned, remove the roaster and add the remaining ingredients, including the water.
- Cover the pan with foil.
- Reduce the heat in the oven to 275ºF/135ºC.
- Place the roaster in the oven and roast for 8-10 hours, (I suggest overnight so you can get some sleep).
- Remove the roaster and allow to cool (about an hour).
- Wear a pair of disposable gloves and remove all the large bones, and larger pieces of vegetables and discard (they have done their job).
- Place a food colander over a large stock pot and pour the remaining liquid/spices to filter out.
- Discard any remaining solids.
- **At this time, you can store the stock in the freezer, or process in a pressure canner.
- Once the stock is strained into a larger pot, add the red wine.
- Bring the pot to a medium simmer, uncovered and heat for 2 hours to reduce and concentrate the stock a bit more.
- Proceed to freezing or canning the stock for longer shelf life.
- https://www.youtube.com/watch?v=upvAM5NwRTA
